A cron task is a system which will automatically trigger HikaShop without any human intervention. There are two ways to create cron task, you can create it on Hikashop’s server or create on your own server.
Create your cron task on Hikashop’s server
Some hosting companies don’t enable you to create a cron task on your own server and some of users have no clue what is a cron task, we created a cron service and you can add a cron task directly via your HikaShop configuration!
To create your cron task, follow the following steps:
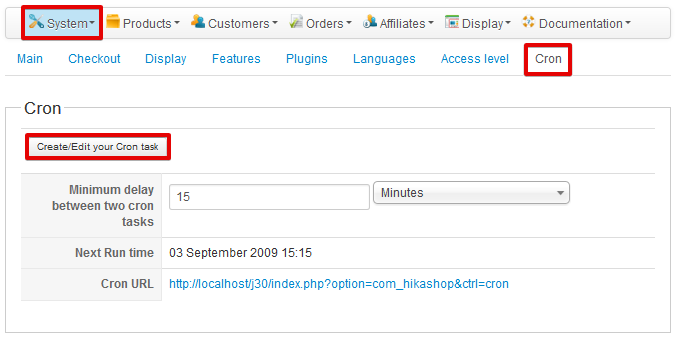
Step 1. Go on your HikaShop configuration page (“Hikashop >> System >> Configuration“) Step 2. Click on the tab Cron
Here you can specify the Minimum delay between two cron tasks, which is just for security (so that your website won’t be triggered too often) but this parameter has no impact on the real cron frequency (they both should have the same value). Step 3. Click on the “Create/Edit your Cron task” button.
It’ll open a popup that will show you cron url added. Make sure the Cron URL is the right one (you should not have to modify this url!) Step 4. Activate your Cron Task by select YES (if you select NO, our server won’t trigger your website any more). Step 5. Select your frequency. (every 15 minutes or every 30 minutes or every 1 hour). It should be the same as (or bigger than) the parameter “Minimum delay between two cron tasks” Step 6. Save.
Now it will trigger your HikaShop component at the specified frequency.
( Last Report area enables you to check if your website has been triggered properly by our server and when.
You can see our local time, the next time your website will be triggered and the last report.)
Create your cron task on your own server
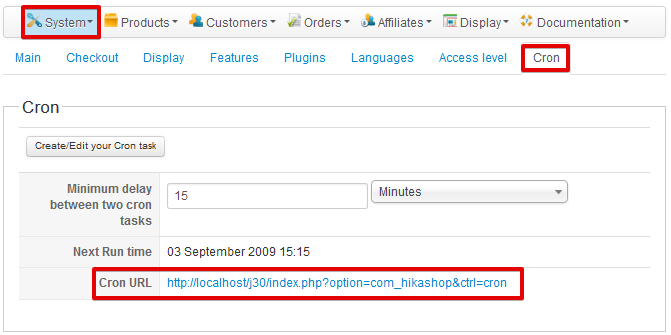
If you have the possibility and the knowledge to create a cron task on your own server, then you should do it and stop the cron task on our server to be completely independent from our server. Step 1. Go on your HikaShop configuration page (“Hikashop >> System >> Configuration“). Step 2. Click on the tab Cron, trigger your HikaShop cron url at a fixed frequency depending on your needs (every 15 minutes is usually a good frequency)
You can also see your cron url here.
Linux System
You can use one of the following command depending on your server:
You can check that your cron task is working easily by follow these steps: Step 1. Go on your HikaShop configuration page (“Hikashop->System->Configuration“). Step 2. Click on the tab Cron.
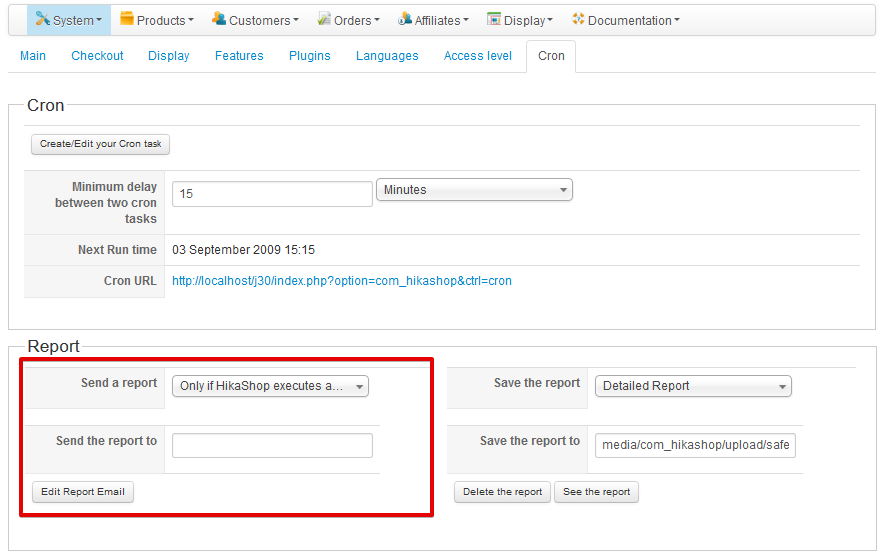
On the Report area, you can see an option to have HikaShop sending you a report each time it is triggered.
You can turn ON this option and once your done with your tests, then turn it Off.
on the Last Cron area, you can see the last time your cron has been triggered, who triggered it and the latest report.
Note: If your cron task is not working:
Make sure your website can be triggered via your browser:
Click on your cron url. That will trigger it manually via your browser so you will see if this url can be reached or not.
If you use a third-party SEF component, your website may redirect the current page to the SEF one which will break our own cron service.
So you can either configure your SEF component to not transform non-SEF into SEF urls or directly write your sef cron url on our cron interface. That can happen with sh404sef.
Make sure your website can be triggered by the outside:
If you have an .htaccess with password protection, your website will obviously not accept to be triggered by an anonymous user.
If you use a security component on your Joomla website, this component might block our cron task. RSFirewall: You should disable the DoS protection from the Components > RSFirewall > Configuration > Active scanner configuration options.
If you use Cloudfare please configure it to allow the cron task to go through.
If you configured your cron task on your own server, check the report of your own cron task and you may also want to apply this workaround:
Create a php file at the root of your joomla website with the code below in it where you will replace yourwebsite.com by your website.
Then, instead of calling the hikashop cron page, you will call your php file you just created. Like that, for example:
wget -O /dev/null “http://www.yourwebsite.com/myfile.php” > /dev/null
If you use our own server to trigger your website, please make sure you enabled our server IP to trigger your website every X minutes! (you might block it if you have some security checks on the number of connections per IP)
If you configured your cron task on your own server, check the report of your own cron task and you may also want to apply this workaround: http://www.acyba.com/support/forum/2-bug-report/1377-solved-cron-job-runs-ok-but-acymailing-queue-is-not-processed.html#1466
If you have any question about this post, don’t hesitate to leave a comment below. And don’t forget to share with your friends if you find it useful! Thanks!
We're a Digital Team from EngineTemplate with 5 content experts. Our team has 5 years exp in open source Joomla and WordPress, we make daily blogs and build useful resources for everyone who is having issues with open source while using it.