Displaying testimonials on your website is considered an excellent way to build trust among your website’s visitors. However, how to add rotating testimonials in WordPress? It is a headache for many WordPress users. Hence, in this blog, we will provide you with a detailed tutorial to help you add rotating testimonials in WordPress with 2 free plugins. Now, let’s check them out.
Why do you need to add rotating testimonials in WordPress?
In the 4.0 era, the majority of customers tend to use shopping online, so they usually pay attention to the feedback, and reviews of past customers before making an order on your website. Therefore, it is necessary to display testimonials on your website to enhance reliance on your website’s customers.
Moreover, testimonials provide your website’s visitors with external information about your services/products. Thanks to that, this positively affects the buying decision of your customers. As a result, you will have more opportunities to get more sales.
How to Add Rotating Testimonials in WordPress
Method 1: Adding Rotating Testimonials by using WP Testimonials with rotator widget plugin
There are numerous WordPress plugins that help you add Rotating Testimonials in WordPress. Nevertheless, in today’s blog, we would like to introduce the WP Testimonials with rotator widget plugin. This free tool allows you to add and showcase multiple testimonials on your website.
To use this tool, you first need to install and activate the plugin by going to Plugins > Add New from your WordPress admin panel. Then, you can utilize the search bar to find the plugin. Once the plugin appears, let’s click on the Install now button and Activate it.
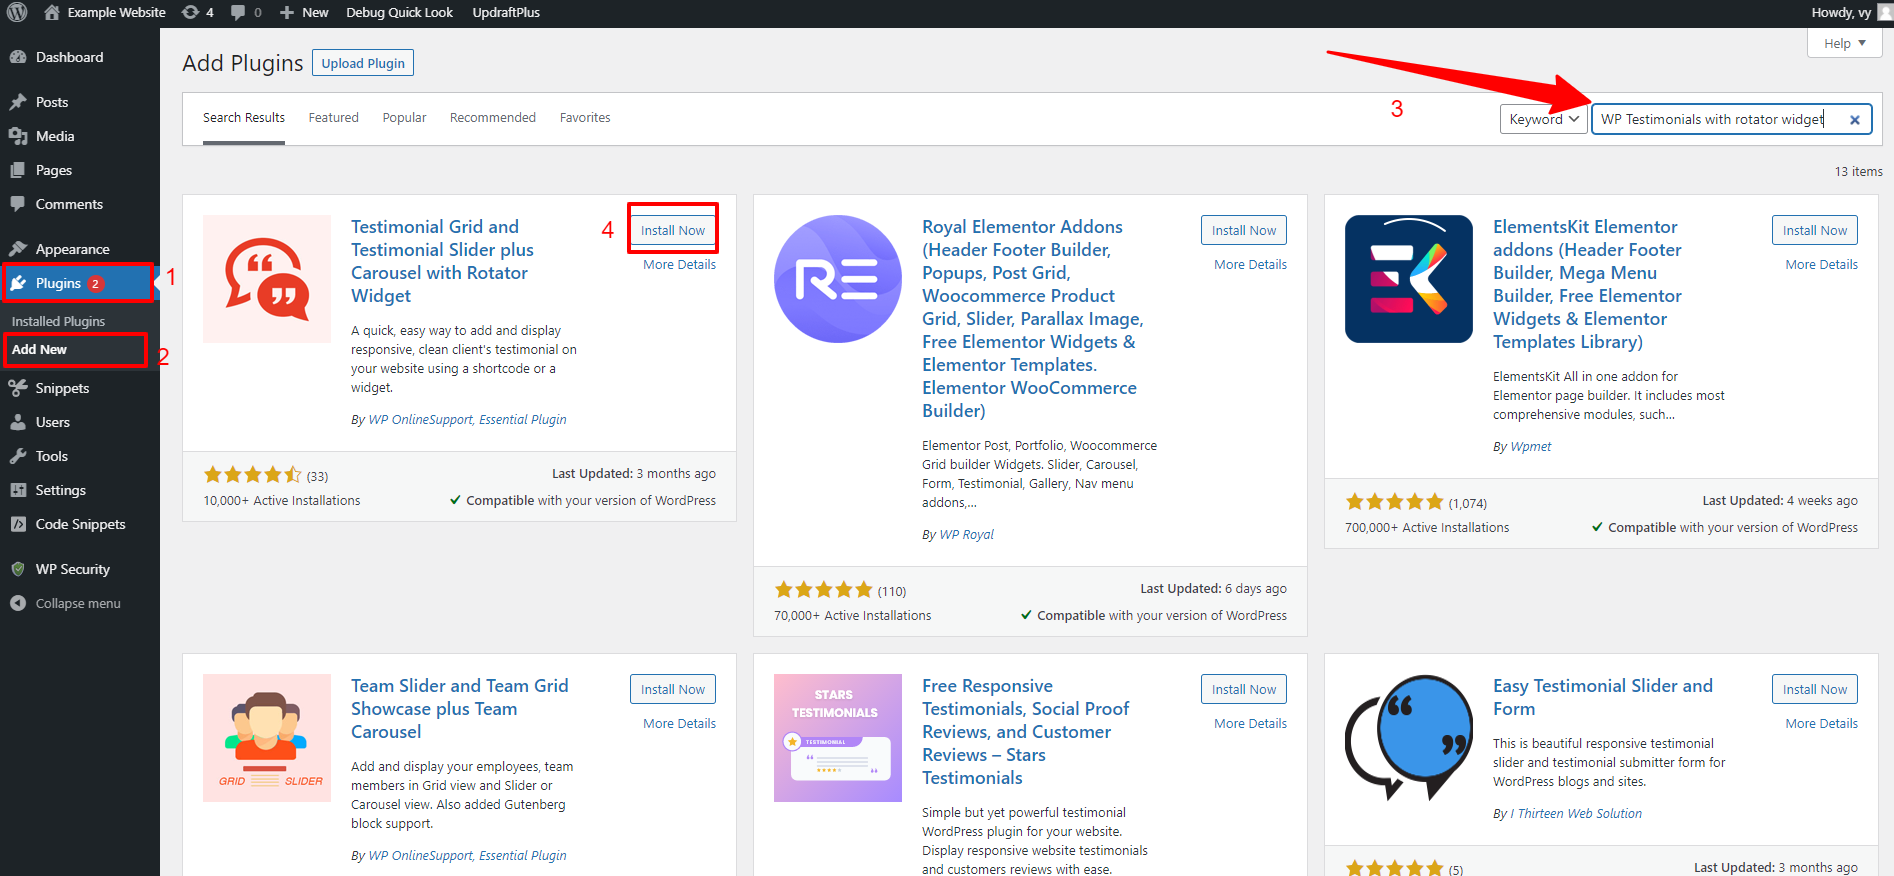
After the plugin is activated, let’s navigate to WP Testimonials > Add New from your WordPress dashboard to create your testimonial.
In the page editor, you are able to provide your testimonial with a title and testimonial quote.
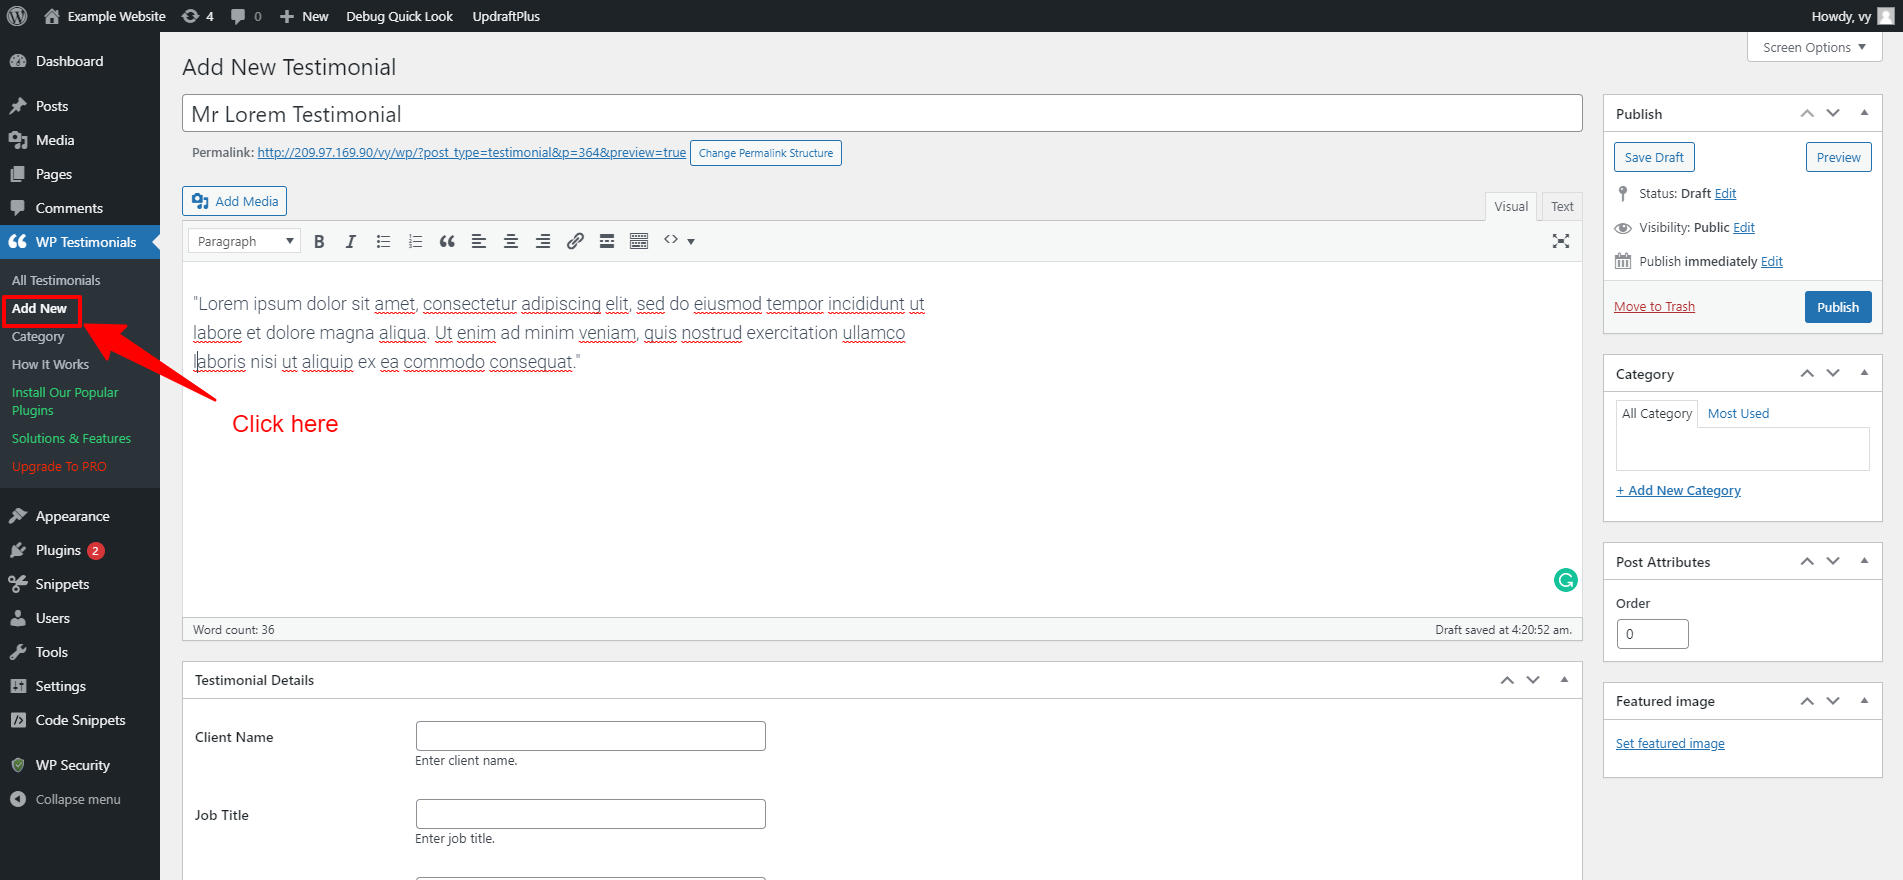
Next, in the “Testimonial Details” box, you are able to provide your client name, job title, and company and enter the URL of your client’s website.
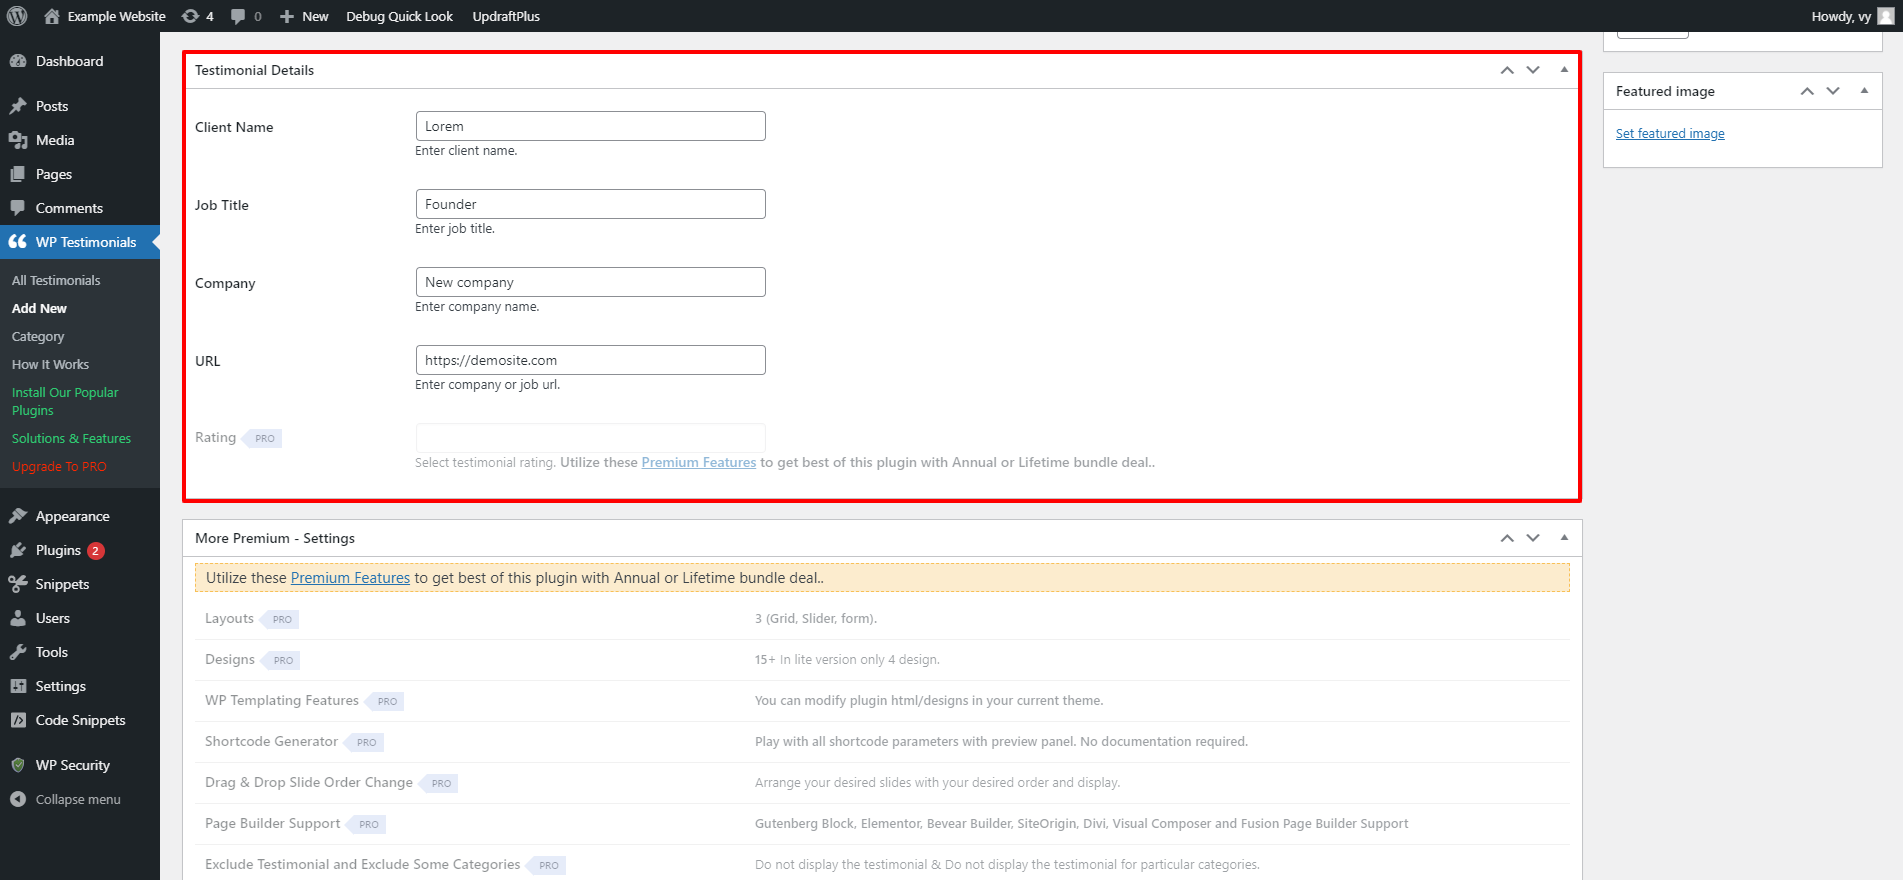
Moreover, you are able to change the layout and design and use pre-made templates for your testimonial. However, these features are only available for the premium version of the plugin.
Once you are completed, don’t forget to click on the “Publish” button.
However, if you want to create rotating testimonials, you need to add more testimonials. The process of adding other testimonials will be similar to what we did above.
Upon all your testimonials are ready. Now, you can add them to your page or post by following the below steps.
Now, you need to open a post or a page where you want to display your testimonials. Then, in the block editor, you need to click on the “Plus” icon and use the search bar to find the “Shortcode” block. Let’s add it to your content.
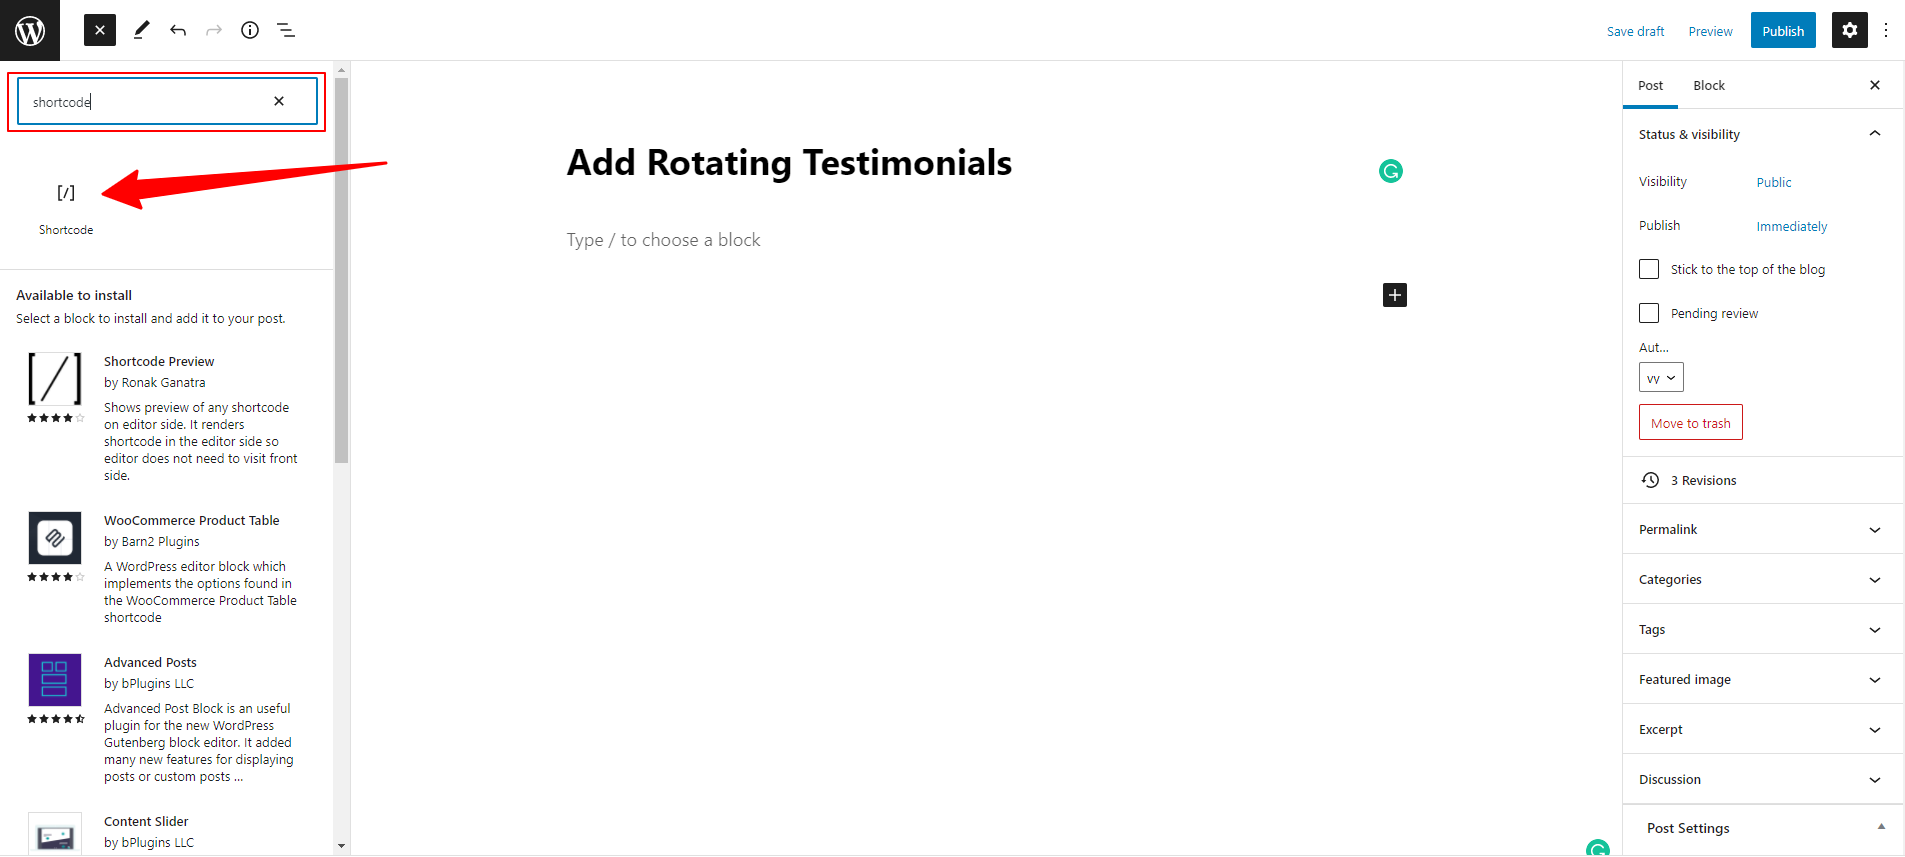
After that, you need to add the following code in the “shortcode” block.
[sp_testimonials_slider]

Next, let’s click on the “Update” or “Publish” button to save your changes.
Now, it’s time to see your testimonials on your WordPress site which will be automatically rotated after a few seconds.

Method 2: Adding rotating testimonials by using Testimonials widget
Another useful plugin that you can also use to add rotating testimonials to your website is the Testimonials widget plugin. One of the biggest advantages is that this plugin allows you to add testimonials with images or videos to your WordPress website. Additionally, you are able to add your Testimonial content via shortcode, theme functions, or widgets with category and tag selections.
Similarly, to use this tool, initially, you need to install and activate it. You can follow the same steps as above to install the Testimonials widget plugin.
Upon activation, now you need to navigate to Testimonials > Settings to configure the plugin’s settings.
Next, click on the Fields tab. From here, you can select the elements that you don’t want your testimonials to include. However, we highly advise that you should retain either the author or avatar field to improve the trust for your testimonials.
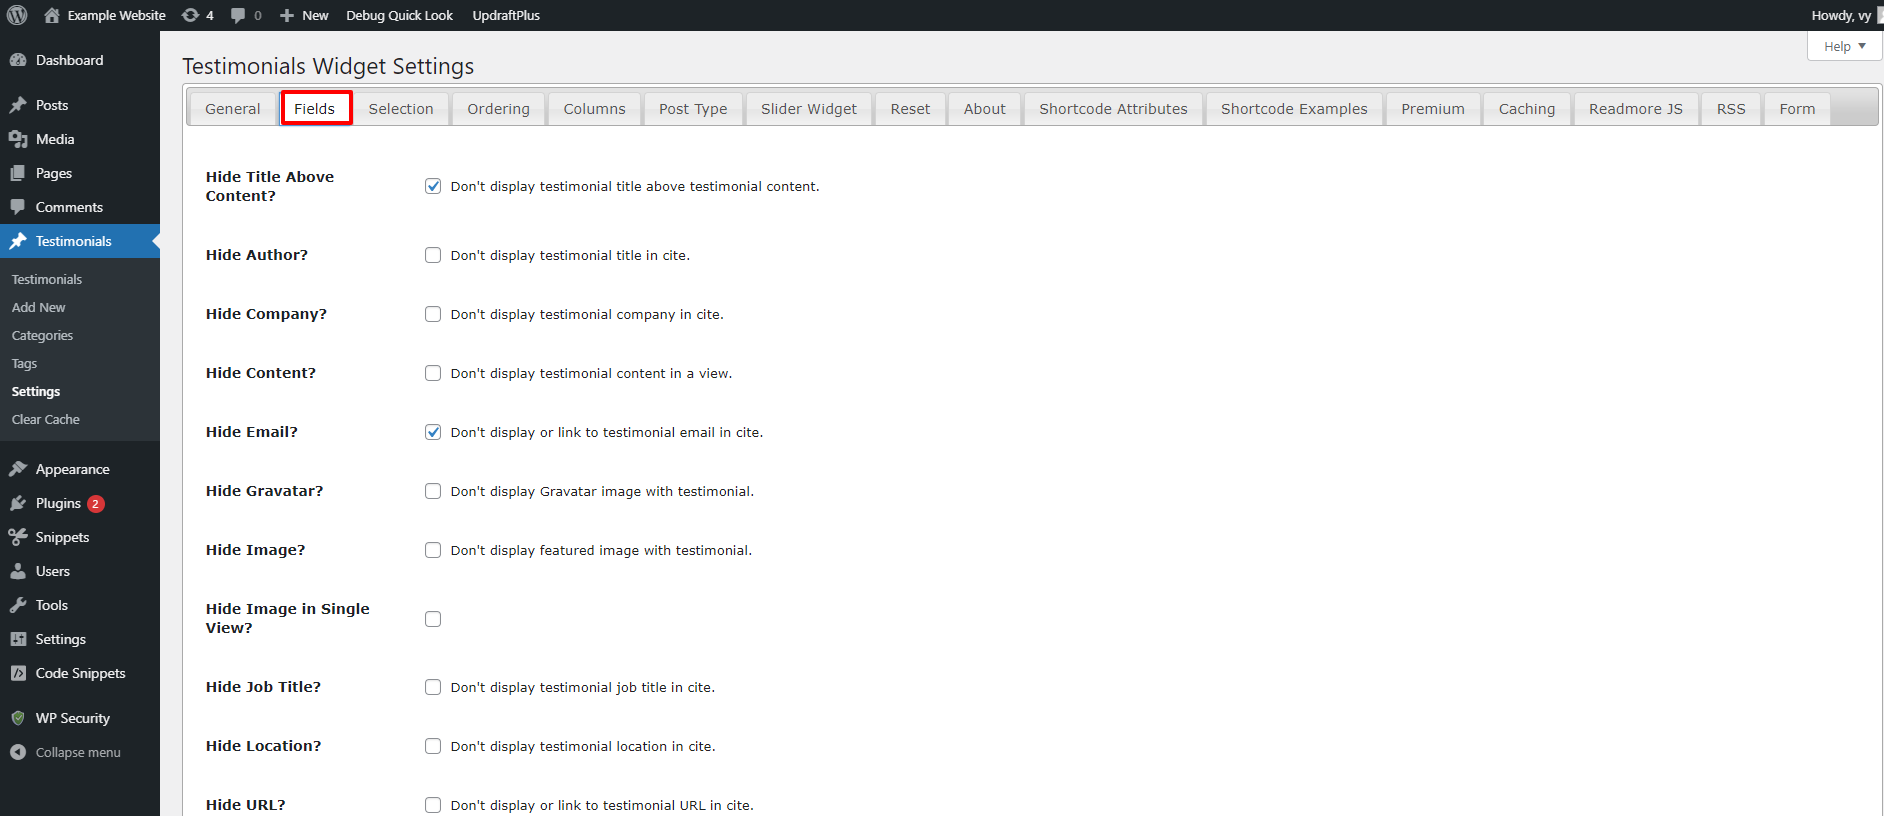
Once you are pleased with your selections, don’t forget to click on the “Save Changes” button.
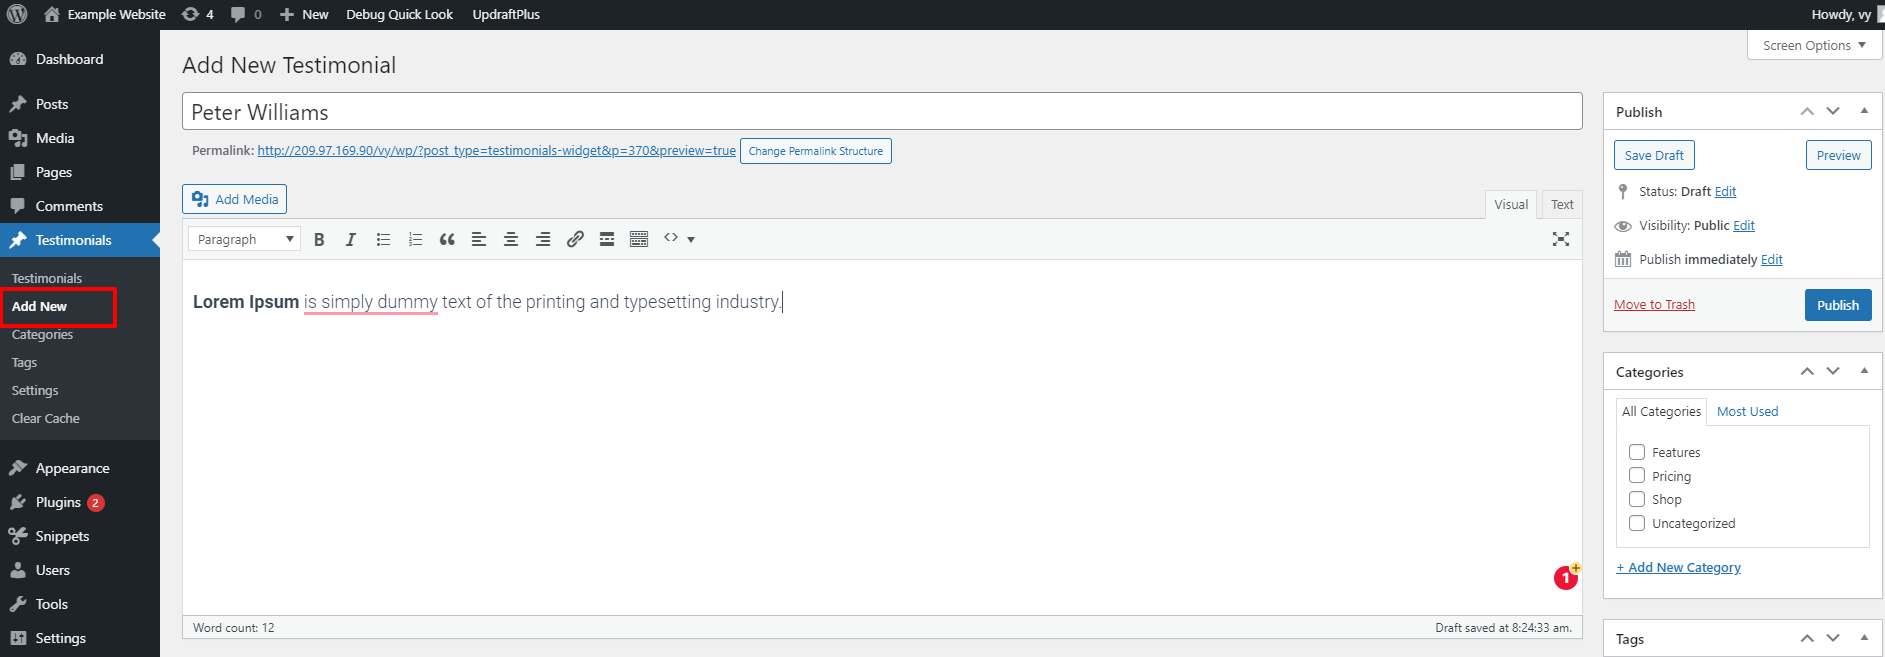
Next, you need to create a list of your testimonials by navigating to Testimonials > Add new from your WordPress dashboard.
In the editor, you can enter a title and the content of your client’s testimonials.
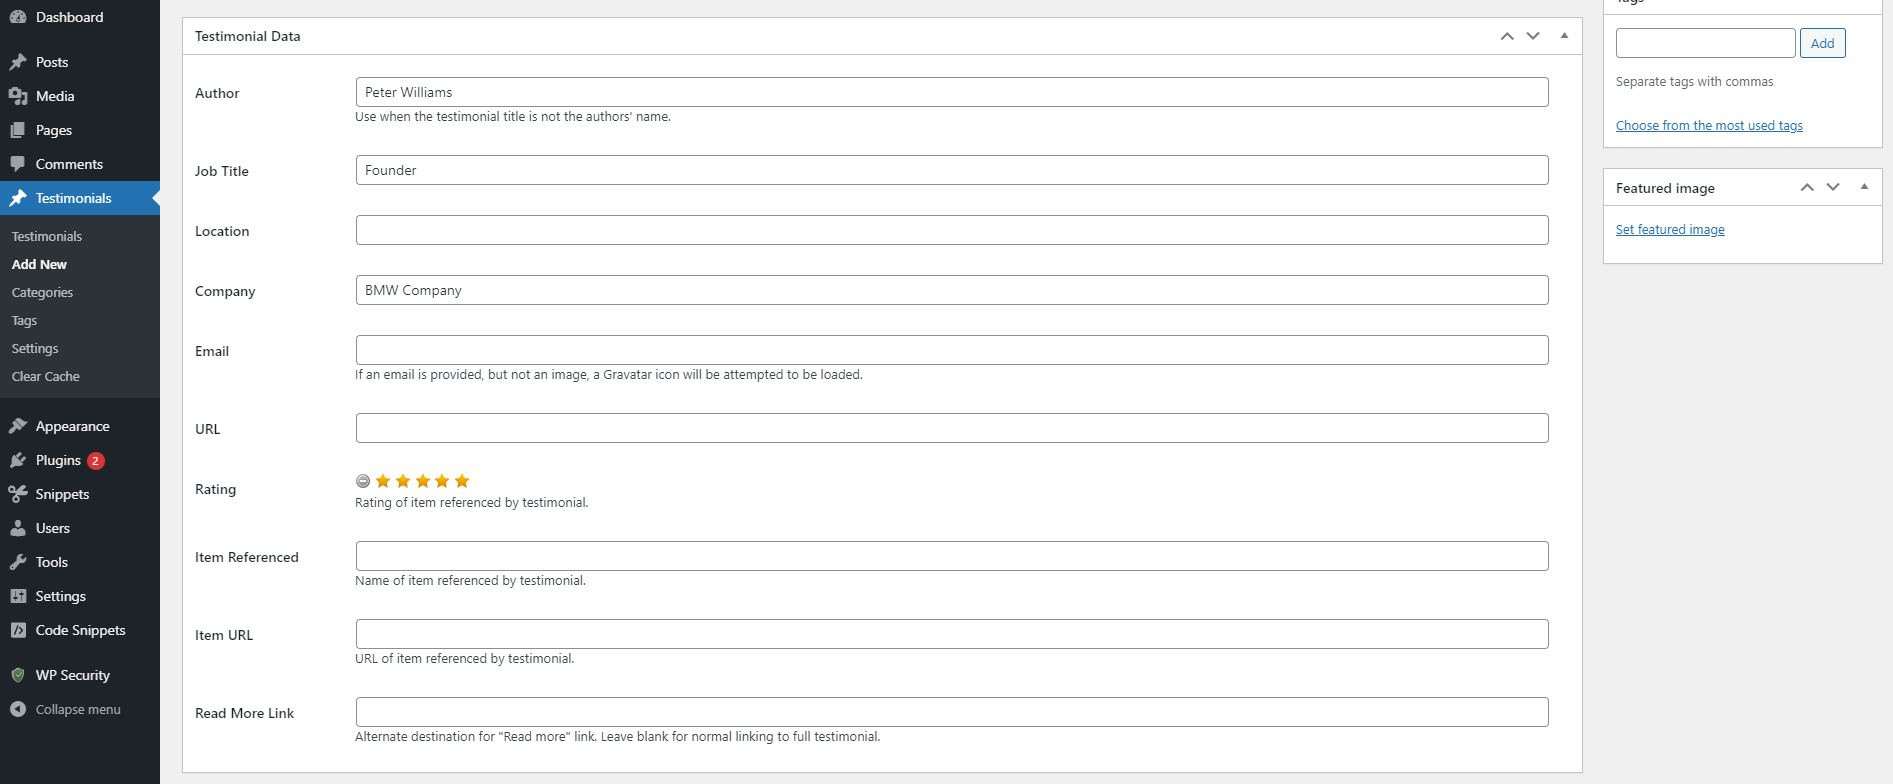
In addition, you can add more identifying information about your client in the “Testimonial Data” box including author, Job title, location, company, email, rating, and much more.
You should notice that for the fields you have disabled on the settings page, now you leave those fields a blank and fill in the rest.
Moreover, you can also add a featured image for your testimonial that will be displayed next to the text.
When you are done, remember to click on the “Publish” button to save your changes.
Likewise, you also need to create more than one testimonial. Once all your testimonials are added, you can add your testimonials to any position on your website by adding the following code.
[testimonials_slider]
Then, your testimonials slider will automatically rotate from slide to slide as in the screenshot below.

In contrast, if you want your website visitor to switch between slides manually, you can use the following code instead:
[testimonials_slider show_controls=true]
Summary
Congratulations! You have just added Rotating Testimonials in WordPress successfully with 2 free plugins. Hopefully, you are able to create beautiful rotating testimonials to make your website more reliable.
If you get into any trouble, don’t hesitate to mention them in the comment below. We will support you as soon as possible. Moreover, you can visit our website to explore a wide range of bewitching, stunning, free WordPress themes that will help you easily build a stunning website.


