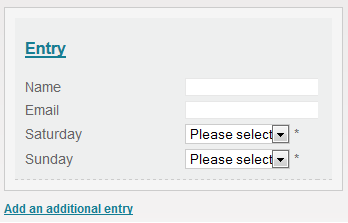
In this post we will explain you build an event registration page with the HikaShop entry form. It will be useful if you’re going tobuilf a website for event and allow users enter several persons to the event.
The first thing you need to do is to add products, when users enter their information, products will be added to the cart automatically.
Add products
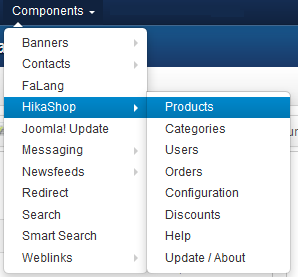
Step 1. Go to Component >> HikaShop >> Products.
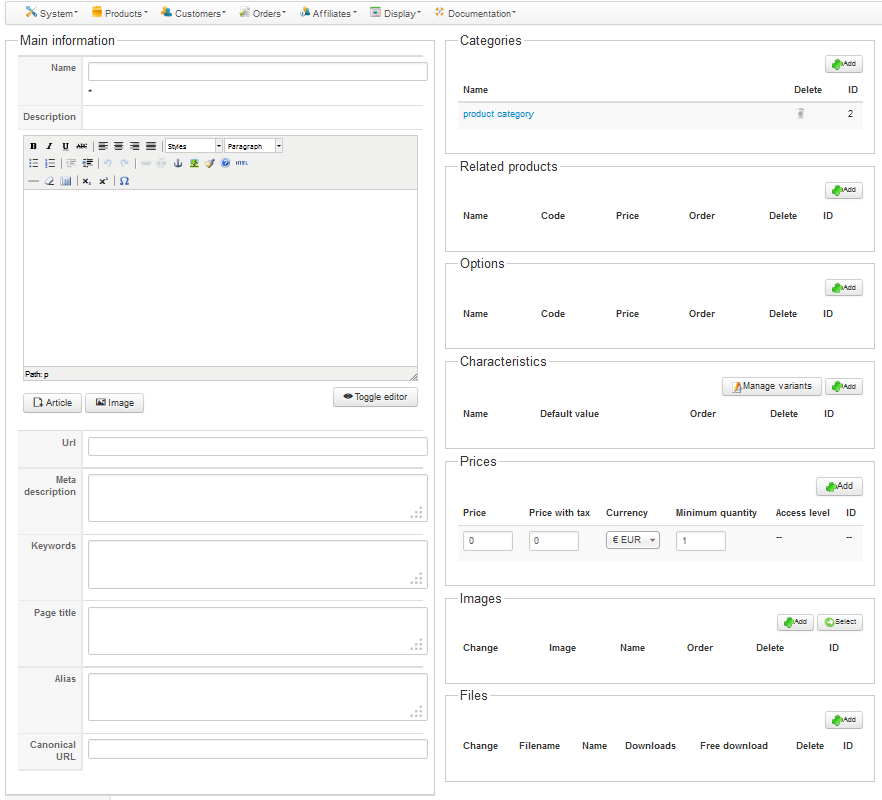
Step 2. Click on the “New” button to create a new product.
Step 3. Enter name and price for your product.
You will have to write at least a name for your product and a price for the product. You can also add the product to a special category which won’t be displayed in your normal store listing, if any.
Step 4. Save it. You can repeat the operation several times.
We added three products. One which is called Saturday (30€) and one which is called Sunday (50€). We also want to propose a lunch box on site on Sunday at 15€.
After adding products, the next thing you need to do is to addenry custom fields.
Add enry custom fields
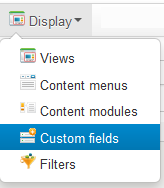
Step1. Go in the HikaShop menu Display >> Custom fields.
Step 2. Click on the “New” button to create a new custom field.
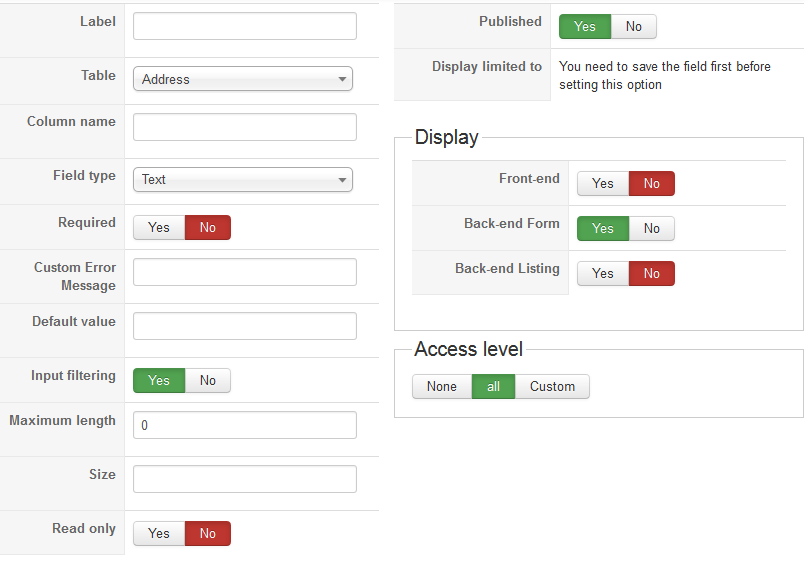
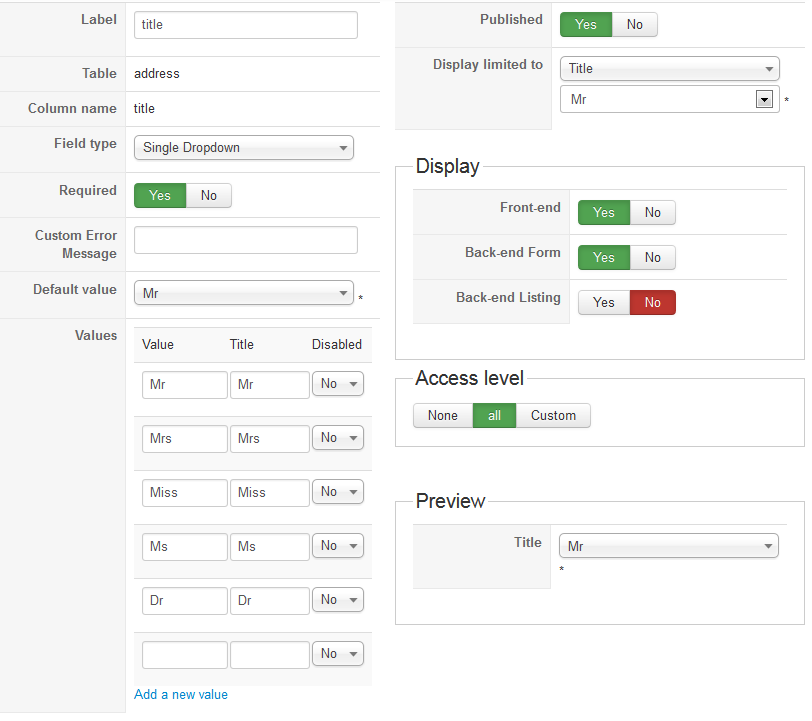
Step 3. Enter a label for the field, select the table “entry” and set the type of your custom field. Based on the type, you can select additional information like the values and labels of each options for dropdowns.
Step 4. Click on the “Apply” button, you will see additional options on the right side of the screen which are only displayed for entries.
You will be able to limit the display of a field based on the value of another field. That enables to to build conditions in your form.
You can attach a product to a field. The product will be added to the cart automatically once you validate the form if the value entered by the user matches the value you selected there.
Add a link to the entry form
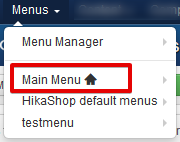
Step 1. Go to the menu “Menus” then click on one of your menu areas
Step 2. Click on the “New” to create a new menu
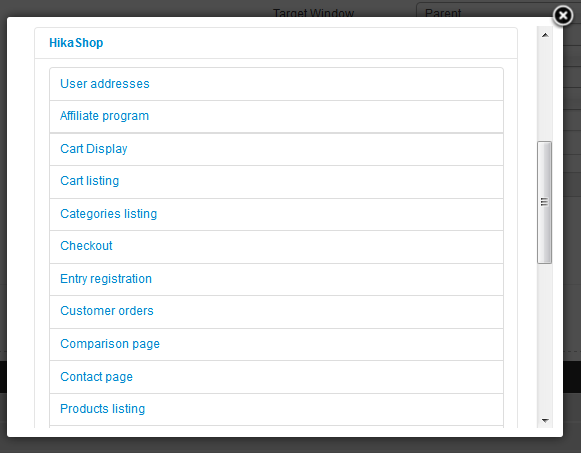
Step 3. Click on the menu Item Type HikaShop, it will display the list of menu types of HikaShop. Then, click on the Entries registration link.
Now you can set standard Joomla options for the menu. You’re done.
If your menu area is already displayed on your front end, you should already see the new menu linking to your form. If you don’t see it, you might need to purge your Joomla cache before seeing it.
Tweak the cart and the checkout
On the checkout, when your users click on the products name, it will go to the product page. If you will want to disable those links, you can go to the configuration’s Display tab (“Hikashop->System->Configuration->Display“) and turn off the “link to the product page” option.
If you have any question about this post, don’t hesitate to leave a comment below. And don’t forget to share with your friends if you find it useful! Thanks!
We're a Digital Team from EngineTemplate with 5 content experts. Our team has 5 years exp in open source Joomla and WordPress, we make daily blogs and build useful resources for everyone who is having issues with open source while using it.