Tables are very useful tools for organizing and presenting information to your readers in a logical and engaging way. By presenting information in tables, readers can more easily grasp the facts or information on your website, making it easier for them to read.
Creating tables in WordPress can be done easily, either in posts or pages, with or without using plugins. In this article, we will discuss everything you need to know about tables, whether it’s creating tables using plugins or not, and how to add them to your posts/pages. So, without further ado, let’s get started.
Why Should You Create Tables in WordPress?
As previously explained, using tables in your posts is something that should be added. Here are some reasons why you should create tables in WordPress, in bullet point form with explanations:
Present data in an organized and orderly manner: Tables allow you to arrange information into neat rows and columns, making it easier for readers to understand and compare the data presented. This is particularly useful when you need to display complex information such as product prices, technical specifications, or statistical data.
Enhance readability and content appeal: Visually, tables can break down long text into more digestible sections. By using tables, you can highlight important information and make it stand out compared to regular text. Tables can also make your content look more professional and well-organized.
Enable quick comparison between different data sets: One of the main advantages of tables is their ability to facilitate quick comparisons between multiple sets of data. For example, you can compare the prices and features of several products in a single table, allowing readers to easily see the differences between them. This is very useful in helping readers make better decisions.
How to Easily Create Tables in WordPress?
There are two main ways to easily create tables in WordPress: using the built-in Block Editor or utilizing third-party plugins like WP Table Manager. Both offer different approaches in terms of ease of use and functionality.
Let’s explore both methods for creating tables in WordPress.
Create Tables in WordPress using Block Editor
The first method to easily create tables in WordPress is by using the available Block Editor. The Gutenberg Editor provides a table block that can be easily inserted into your post or page content.
Here are the steps to create a table in WordPress using the Block Editor:
1. Insert & Set Table
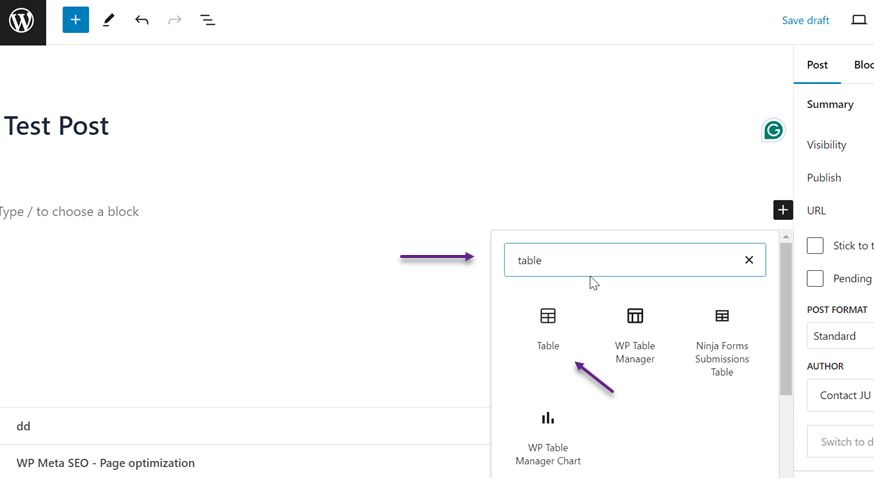
The first step is to open the post where you want to insert a table. Then, click the “+” icon to add a block and search for the “Table” block. Once you find it, click on the block to insert it.
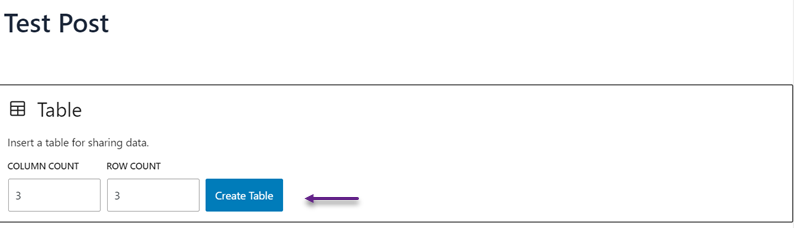
Next, enter the number of columns and rows you need for the table, then click “Create Table.”
After that, the table will automatically be created with 3 columns and 3 rows as per your input. Next, you can start entering content into each row and column, and the table will automatically adjust its width.
In addition, you can also set the width, footer, and header in the bottom right section.
2.Edit Table
After entering your content or information, you can further edit the table through several settings. For instance, if you want to add new rows or columns, use the Edit Table icon. This allows you to insert or delete columns and rows as needed.
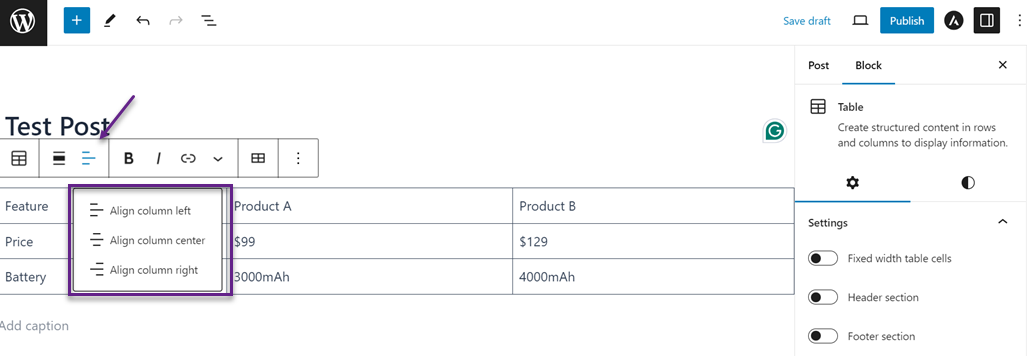
Alternatively, if you want to change the column alignment, you can select the “Change column alignment” feature.
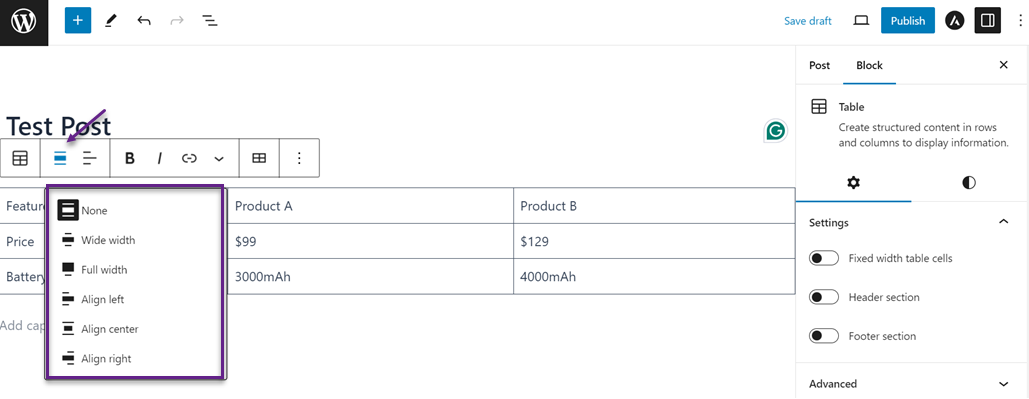
Finally, if you want to align the entire table, select “Align” and then choose the position you desire.
Done! At this point, you can preview the table you’ve created in WordPress.
Create Tables in WordPress using WP Table Manager Plugin
Gutenberg Editor provided by WordPress can indeed be used to create tables, but its features are limited to basic table editing and content insertion.
However, visually appealing and informatively packed tables can greatly assist readers in grasping the intended content. This is why table manager plugins have been developed to address these limitations.
There are numerous table manager plugins available on the internet offering extensive features, and one such plugin is WP Table Manager. With this plugin, you can manage tables using an interface similar to a spreadsheet and choose from a variety of table themes. Let’s proceed with the steps to create a table in WordPress using a plugin.
1. Install WP Table Manager plugin
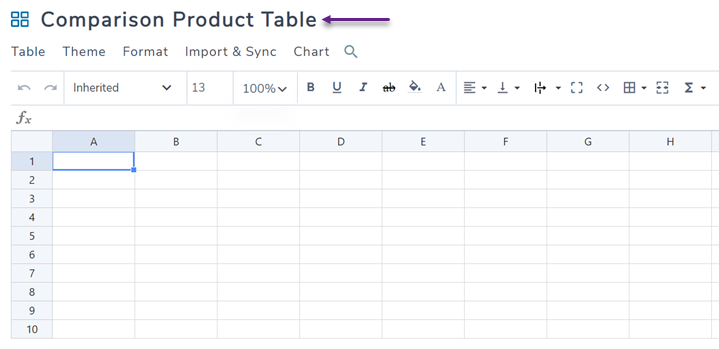
Then enter the WP Table Manager menu, then click + Create New> Table.
After that a table editor appears like the following spreadsheet. Inside you can organize the contents of the table. Next, don’t forget to name the table in the column as below.
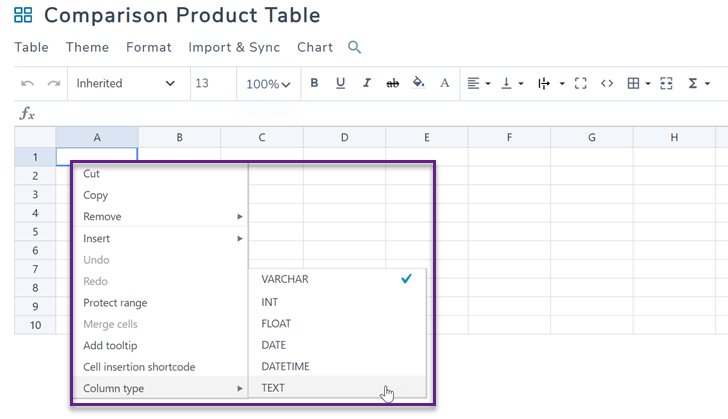
You can also arrange columns and rows by selecting right click on the column then a display like the following will appear.
2. Customize Table
The advantage of creating tables in WordPress using plugins is that customization is easy and fast. With the table created, we can start modifying it to develop a comparison table. The top toolbar provides various tools for editing, such as changing the font style, font type, size, and customizing cell options such as borders, alignment, and padding. You can also add HTML and perform calculations.
Additionally, by right-clicking on a single cell, you can access more tools. These include basic features commonly found in other table managers, plus an option to set the column type.
3. Choose a Table Theme
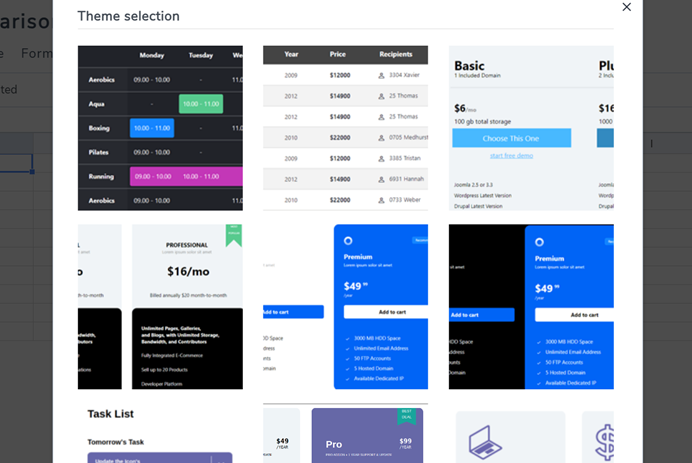
Apart from customizing it yourself, this plugin also provides ready-to-use themes. You can check several available themes in the Theme > Theme Selection menu. After that, several recommendations for table themes appear that you can use.
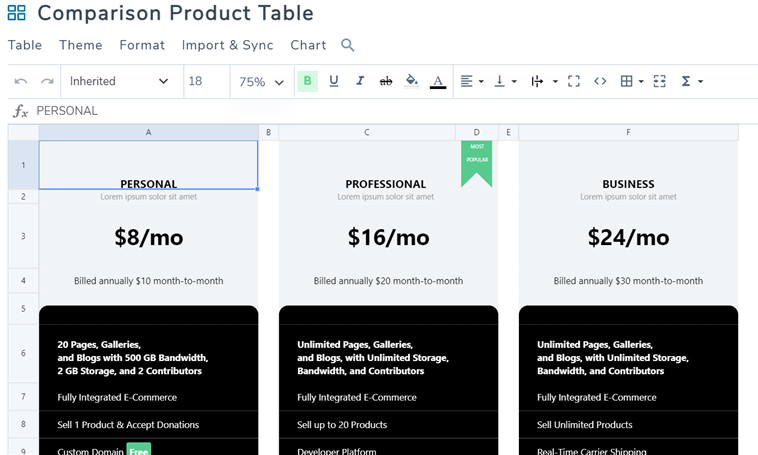
Let’s check out some of the themes available for the comparison table.
Dark price grid table
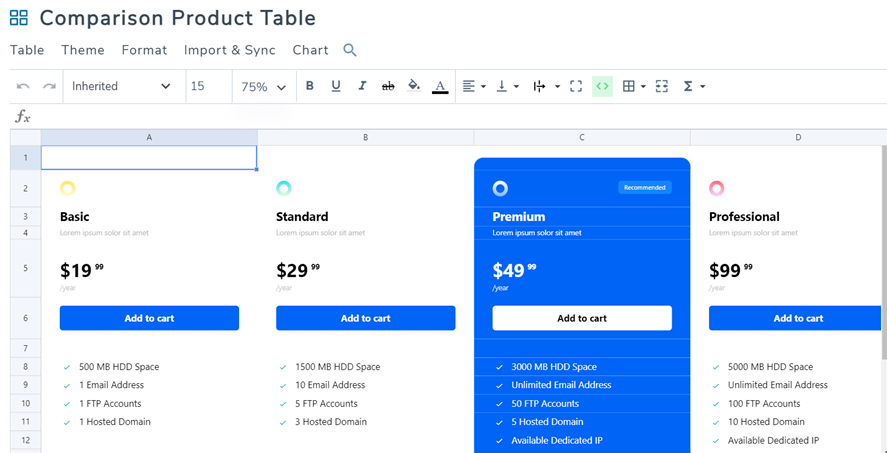
Blue feature comparison table
Blue price table
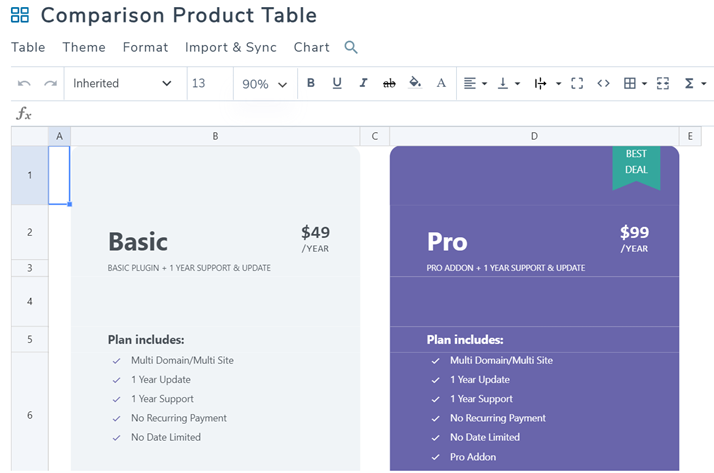
Feature price theme
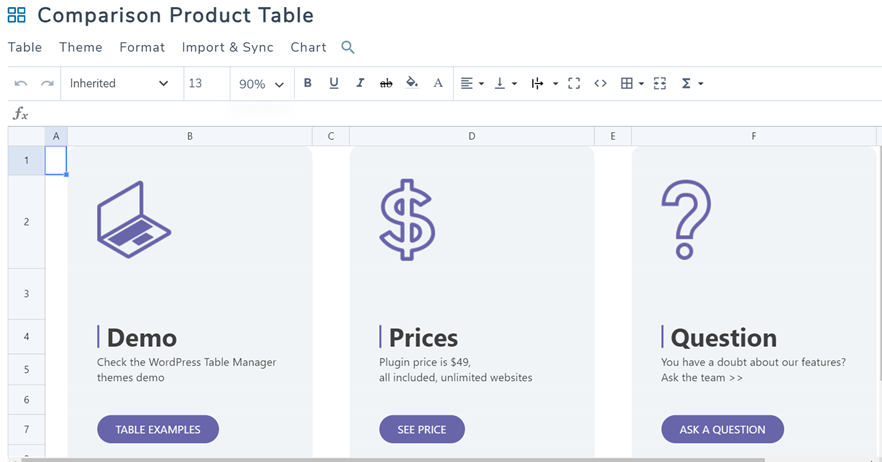
Feature with image
You can use all these themes as templates for your comparison tables. You can add more items, duplicate columns, remove columns if needed, and edit icons simply by clicking on what you want to edit.
4. Insert your Table into Post/Page
Once the table is created and customized, you can then insert the table into a WordPress post or page. Here are the steps.
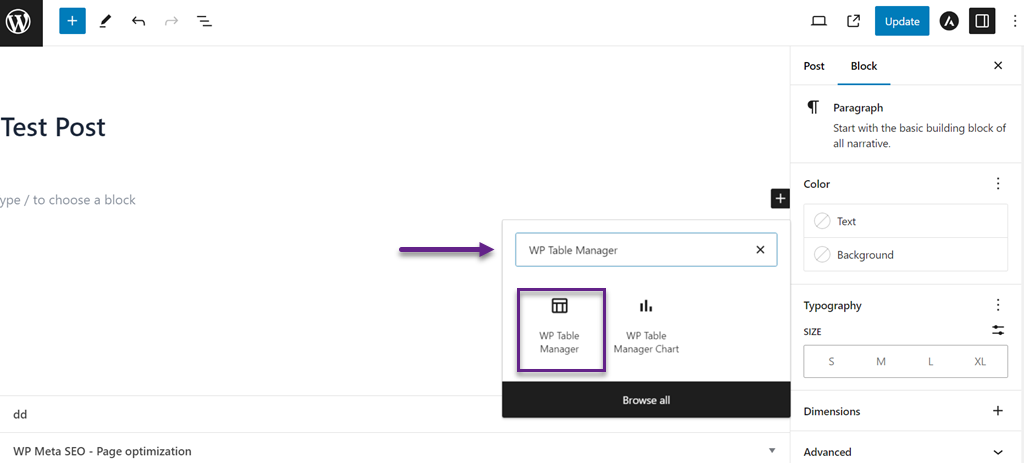
Open the post you want to add a table to, then click + to create a new block and search for WP Table Manager.
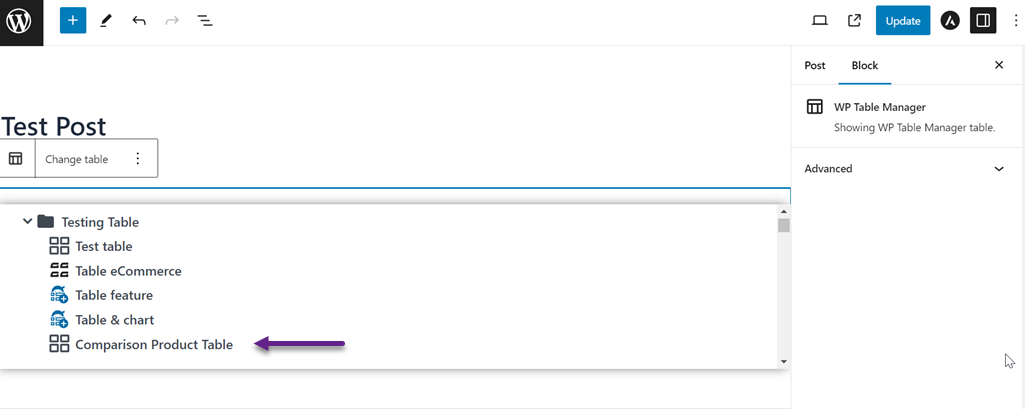
After that, an option will appear to select the table you want to insert. Click on the table name.
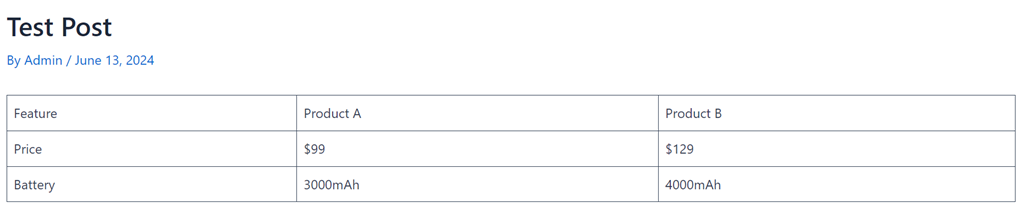
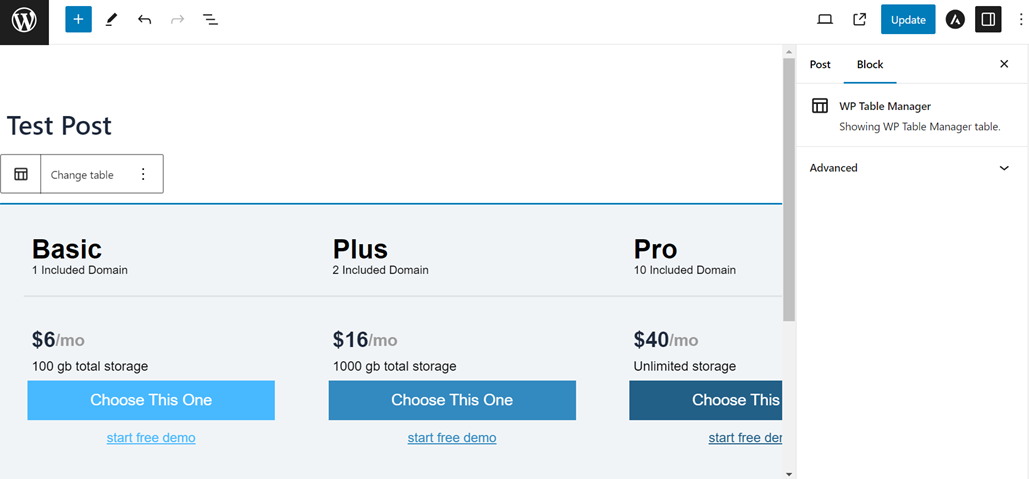
If the table is successfully inserted, a display like the following will appear.
After that, you can select Preview or Publish to see the table results on your website page. The following are the table results.
5. Import templates from Excel
Apart from creating tables manually in the editor, this plugin also allows users to import ready-made tables or templates into WordPress.
What if you have an Excel file with a ready-made template or are looking for a template online that you want to use?
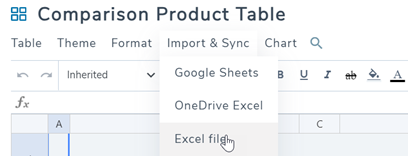
You just need to create a new table and look for the Import & Sync option, then select Excel File.
A modal window will appear with options to add the file. You can choose to import only the data or both data and styles if your table already has the desired styles. You can then select a file or an external link, choose the sheet you want to synchronize, and set up synchronization if you want the Excel file to keep updating. Any edits to the file will be reflected directly on the frontend editor.
This is an excellent way to use any template you prefer, not just the already nice ones offered by WP Table Manager.
Conclusion
Creating tables in WordPress is an effective way to present important information in an organized and attractive way. Whether using WordPress’ built-in Block Editor or a plugin like WP Table Manager, both methods provide flexibility in creating tables according to your needs. Plugins like WP Table Manager provide more customization options and advanced features.
By following the steps outlined in this article, you can easily add informative and engaging tables to your website. Creating tables in WordPress is an effective way to present important information in an organized and attractive way. Whether using WordPress’ built-in Block Editor or a plugin like WP Table Manager, both methods provide flexibility in creating tables according to your needs. Plugins like WP Table Manager provide more customization options and advanced features.
By following the steps outlined in this article, you can easily add informative and engaging tables to your website.
We're a Digital Team from EngineTemplate with 5 content experts. Our team has 5 years exp in open source Joomla and WordPress, we make daily blogs and build useful resources for everyone who is having issues with open source while using it.