Have you ever published a blog post, only to realize that you missed a crucial step? Maybe you forgot to include a meta description, or you didn’t optimize your images for SEO. As a blogger, it’s essential to have a routine and checklist in place to ensure that every post is well-structured and optimized for your audience. Fortunately, WordPress has a variety of plugins that can help streamline this process.
In this post, we’ll show you how to easily add a blog post checklist to the WordPress editor, so you can publish high-quality content with confidence.
What is the importance of adding a WordPress Blog Post Checklist for your website?
A WordPress blog post checklist is an invaluable tool for bloggers, providing a structured framework to ensure the quality, optimization, and organization of their content. By following a checklist, bloggers can enhance the readability and user experience of their posts through effective organization, including essential elements such as introductions, subheadings, and conclusions. Additionally, the checklist also emphasizes the importance of search engine optimization (SEO), guiding bloggers to optimize titles, meta descriptions, and URLs, while incorporating relevant tags and keywords.
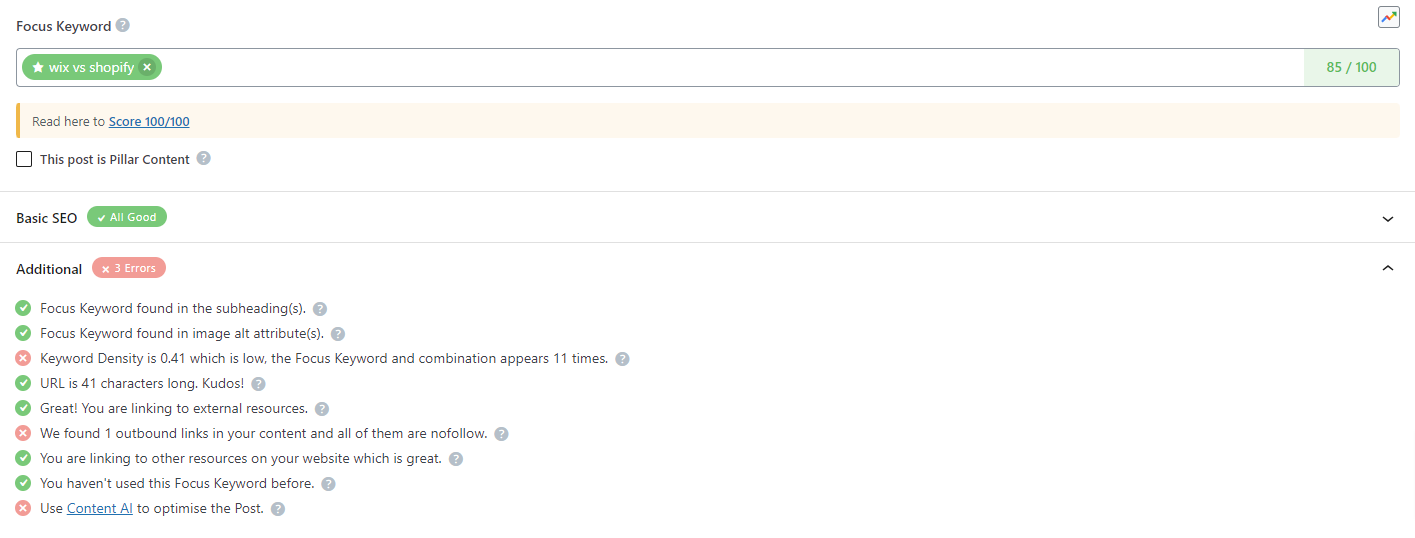
For example, the Rankmath plugin uses a checklist to help optimize your blog with search engines.
Further, it encourages thorough proofreading and editing to eliminate errors, enhance clarity, and maintain a professional tone. Additionally, the checklist prompts the inclusion of visually appealing elements such as images and videos, along with engaging calls-to-action (CTAs) to encourage reader interaction. It also highlights the significance of social sharing buttons and mobile responsiveness, ensuring broad accessibility and engagement across various platforms and devices.
For those reasons, in today’s blog, we will give you a detailed guide to help you easily add a WordPress Blog Post Checklist to your website. Let’s check them out.
How to add a Blog Post Checklist to the WordPress Editor?
Using a plugin is regarded as the easiest method to add a blog post checklist to WordPress editor. We highly recommend using the PublishPress Checklists to complete this task. Because PublishPress Checklists is a popular plugin specifically designed to create and manage checklists for WordPress content. It allows you to define custom checklists with specific tasks and requirements for your blog posts.
Now, to use this plugin, it is necessary to install and activate the plugin first.
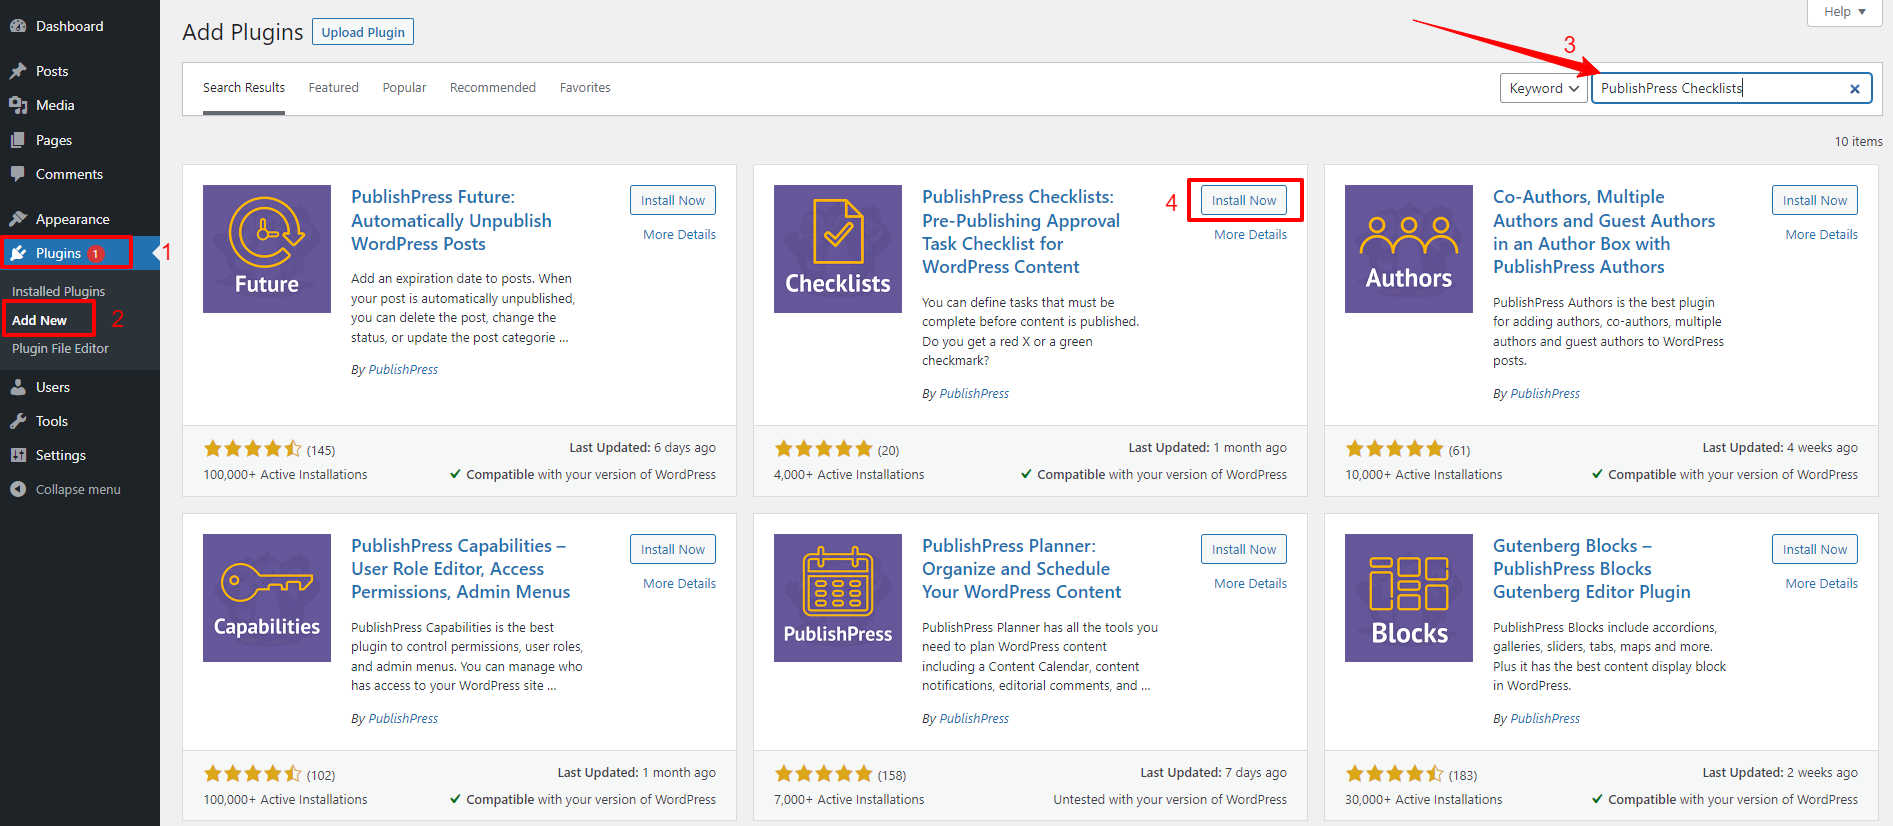
First of all, you need to go to your WordPress dashboard, navigate to “Plugins” and click on “Add New.”
Then, let’s use the search bar to search for “PublishPress Checklists,” .
Locate the plugin from a lot of results and click on the “Install Now” and “Activate” buttons to use it.
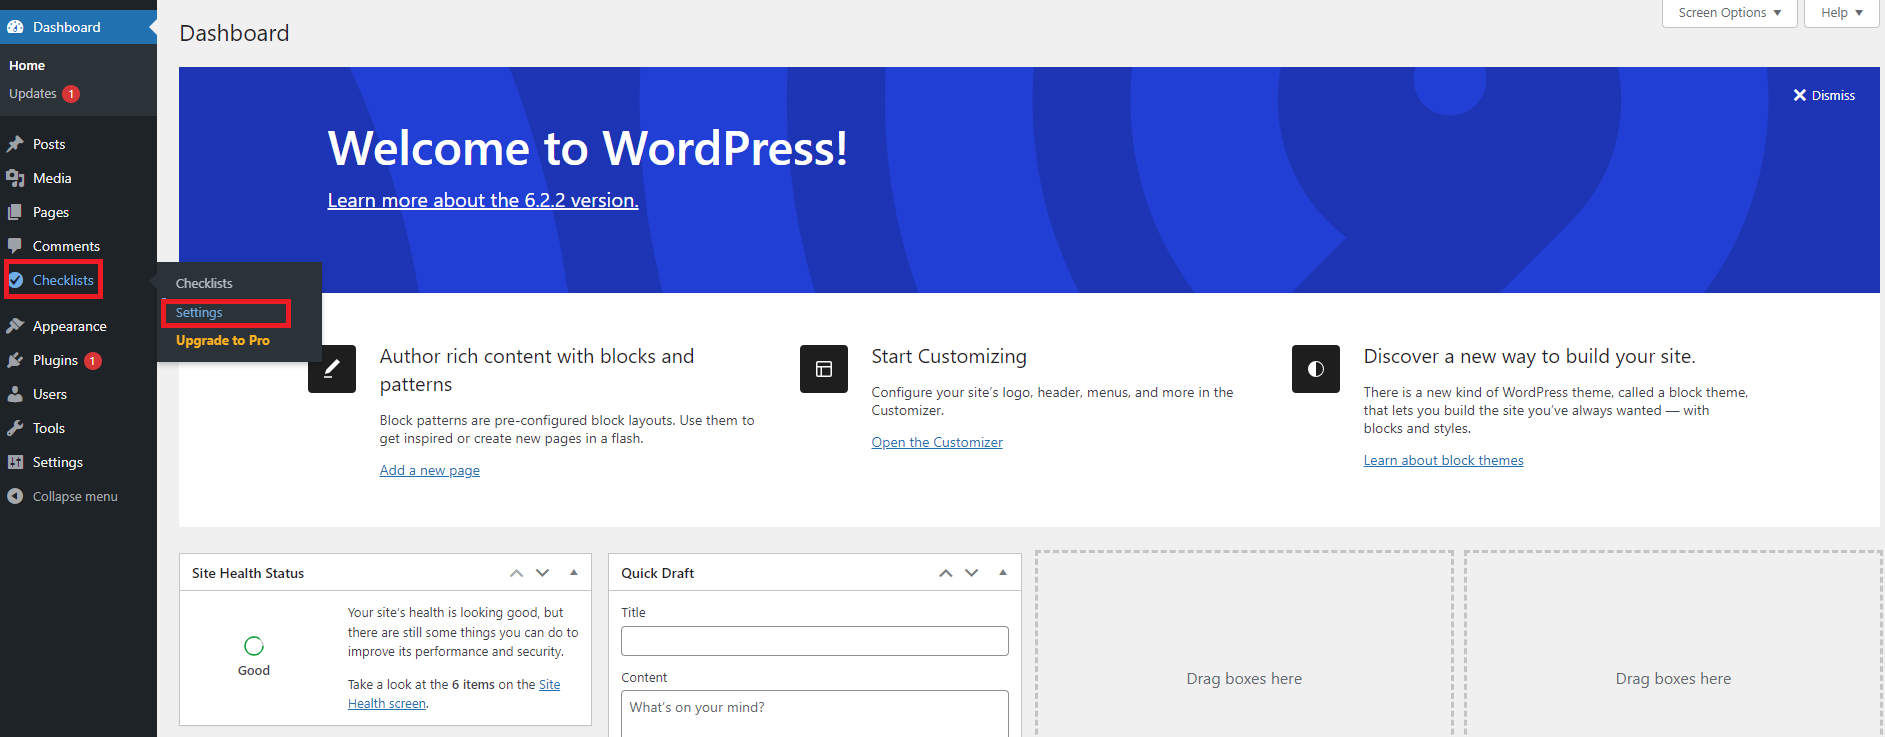
Once the plugin is activated, you’ll find a new menu item called “Checklists” in your WordPress dashboard and navigate to Checklists > Settings to configure the plugin.
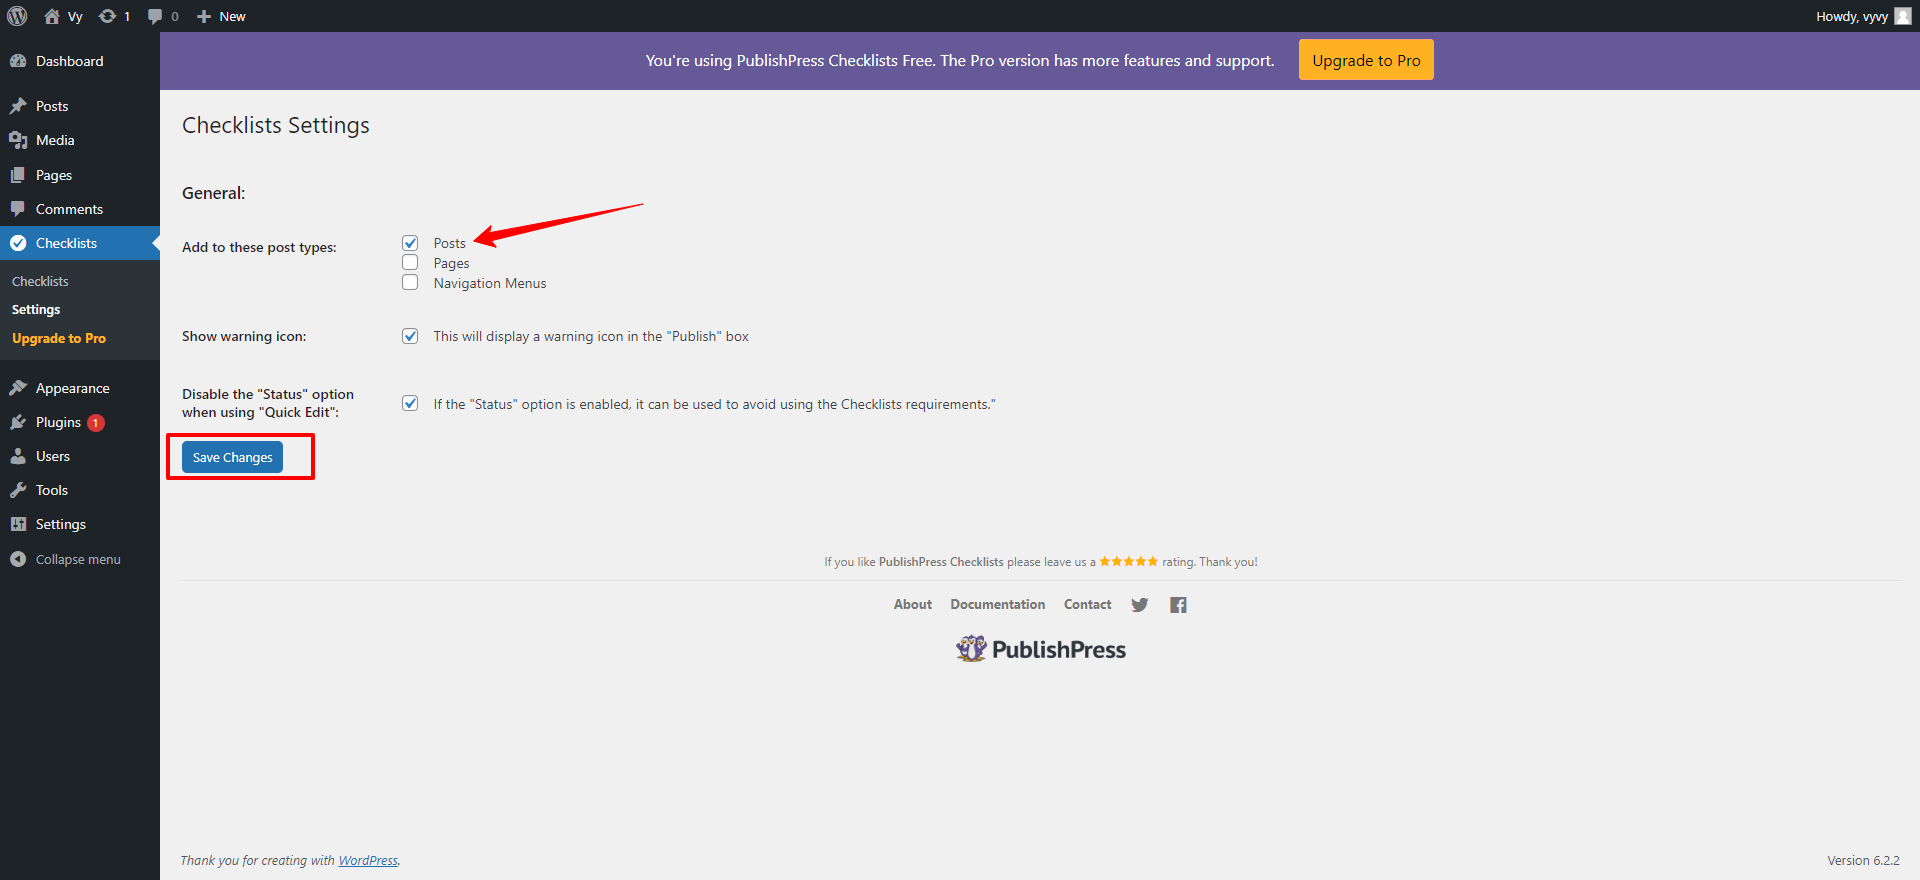
On the settings page, you can choose where you want to display the checklist. The plugin provides you with 3 options including Posts, Pages, and Navigation Menus. For example, if we want to add a blog checklist to the WordPress editor, then we will check the “Posts” checkbox.
When you had your selection, let’s click on the “Save changes” button at the bottom of the screen.
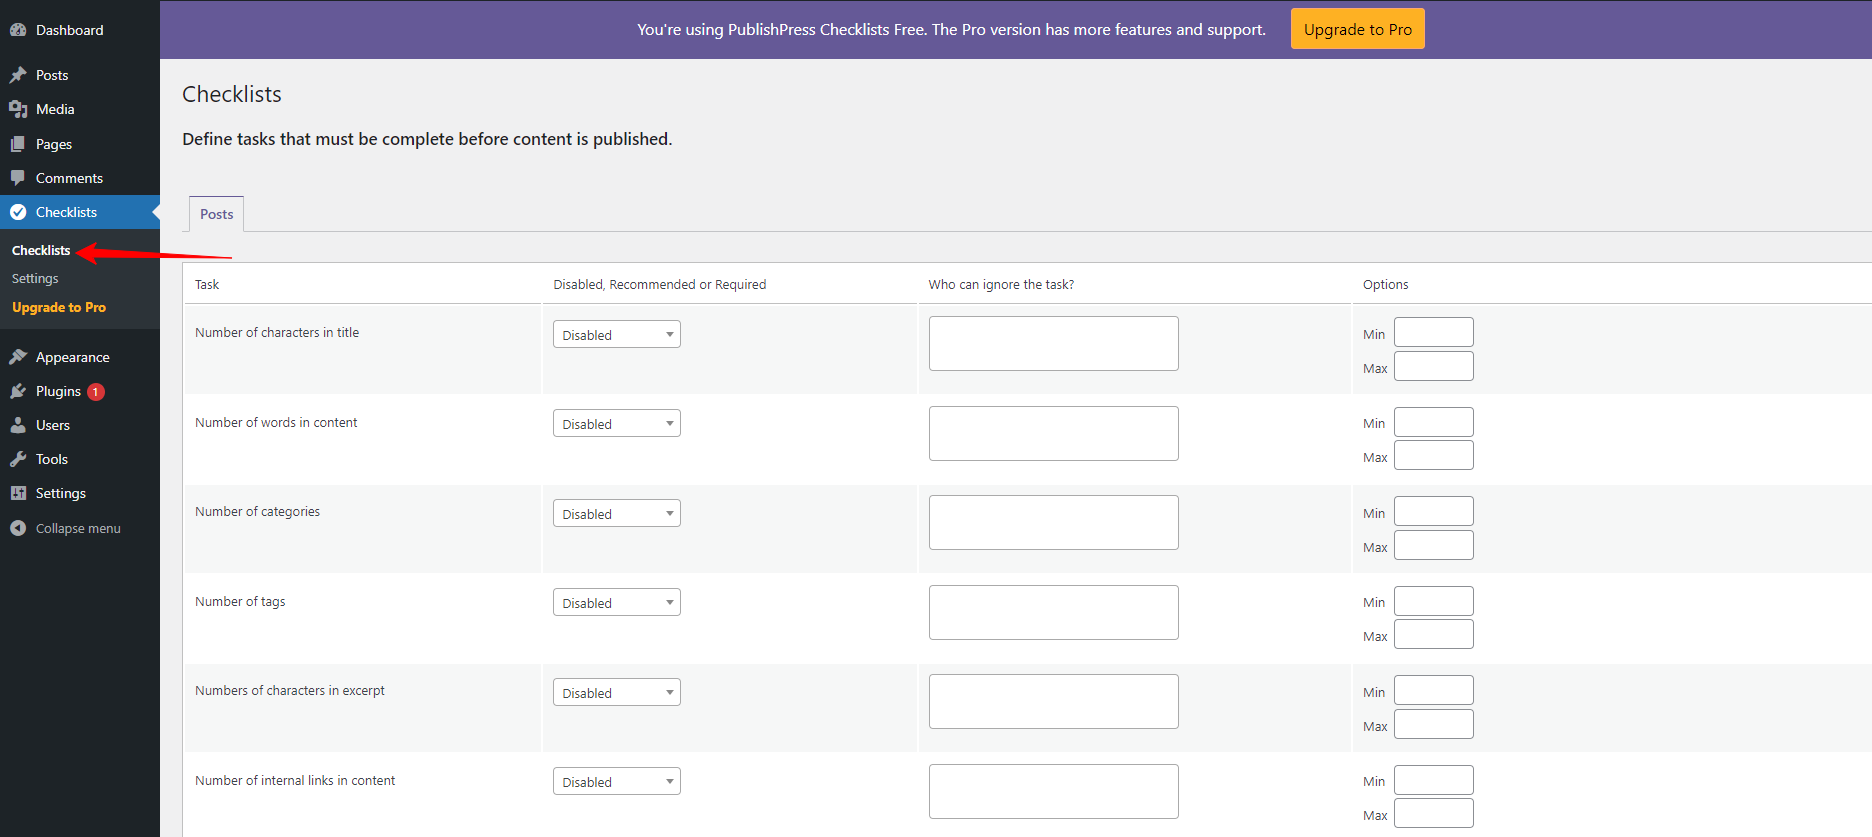
Next, you need to go to Checklists > Checklists to build your own checklist.
On the checklist page, you will see all of the default tasks that you can include in your blog post checklist.
By default, all tasks will be disabled, so you need to choose the “Recommended” or “Required” option from the dropdown menu.
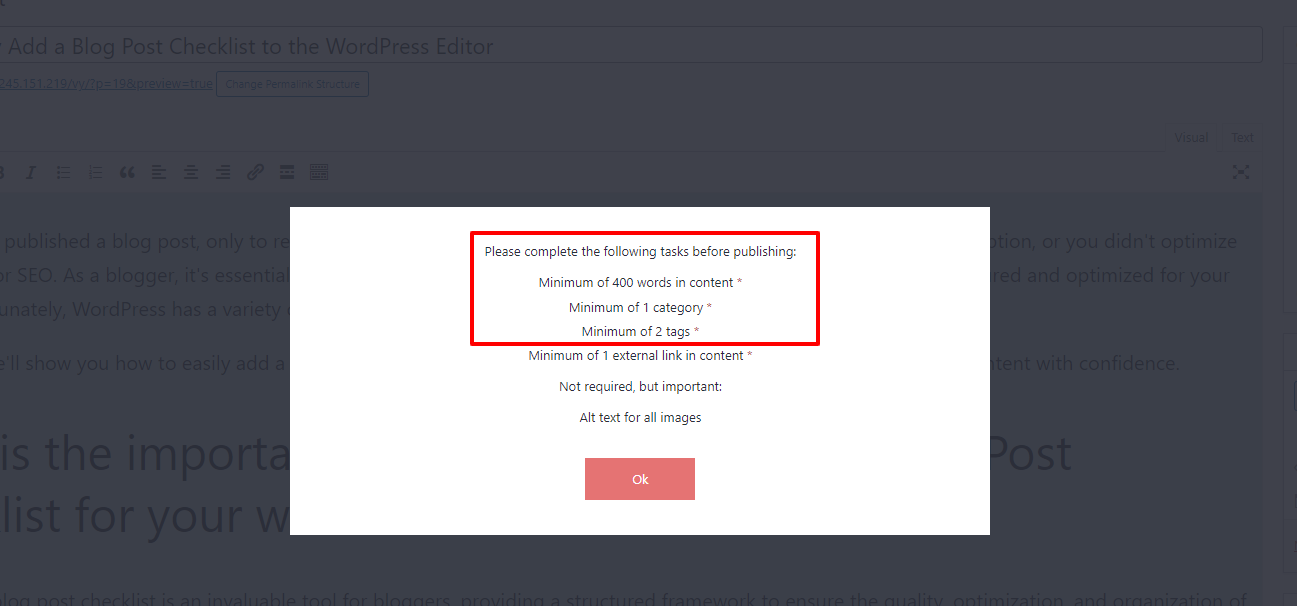
If you choose the “required’ option, which means the authors are not able to publish their posts without completing this task first.
In case, the authors don’t check off this task and publish their post immediately, they will get the popup window that displays the following message “Please complete the following tasks before publishing“.
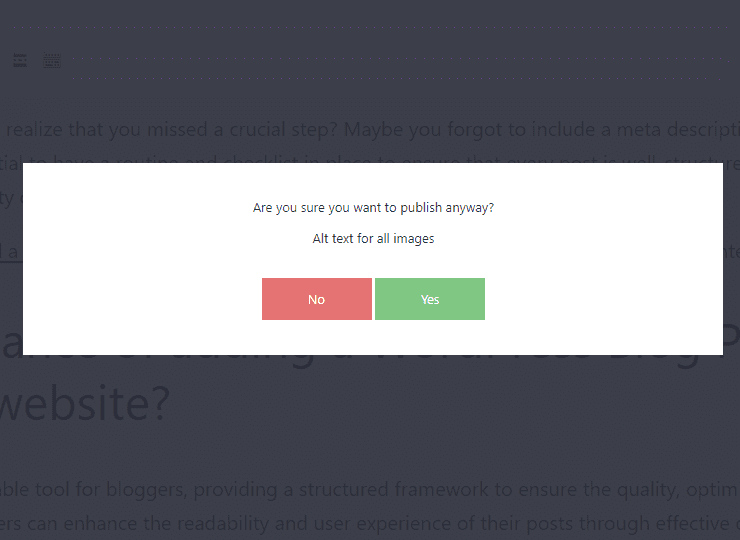
In contrast, if you select the “Recommended” option, then the plugin will display the message “Not Required, but important” in order to encourage authors to finish these recommended tasks before publishing.
However, if you still want to publish without completing the “recommended” task, then the plugin will ask whether you are ready to publish. Now, you need to click on the “Yes” button to continue publishing your post.
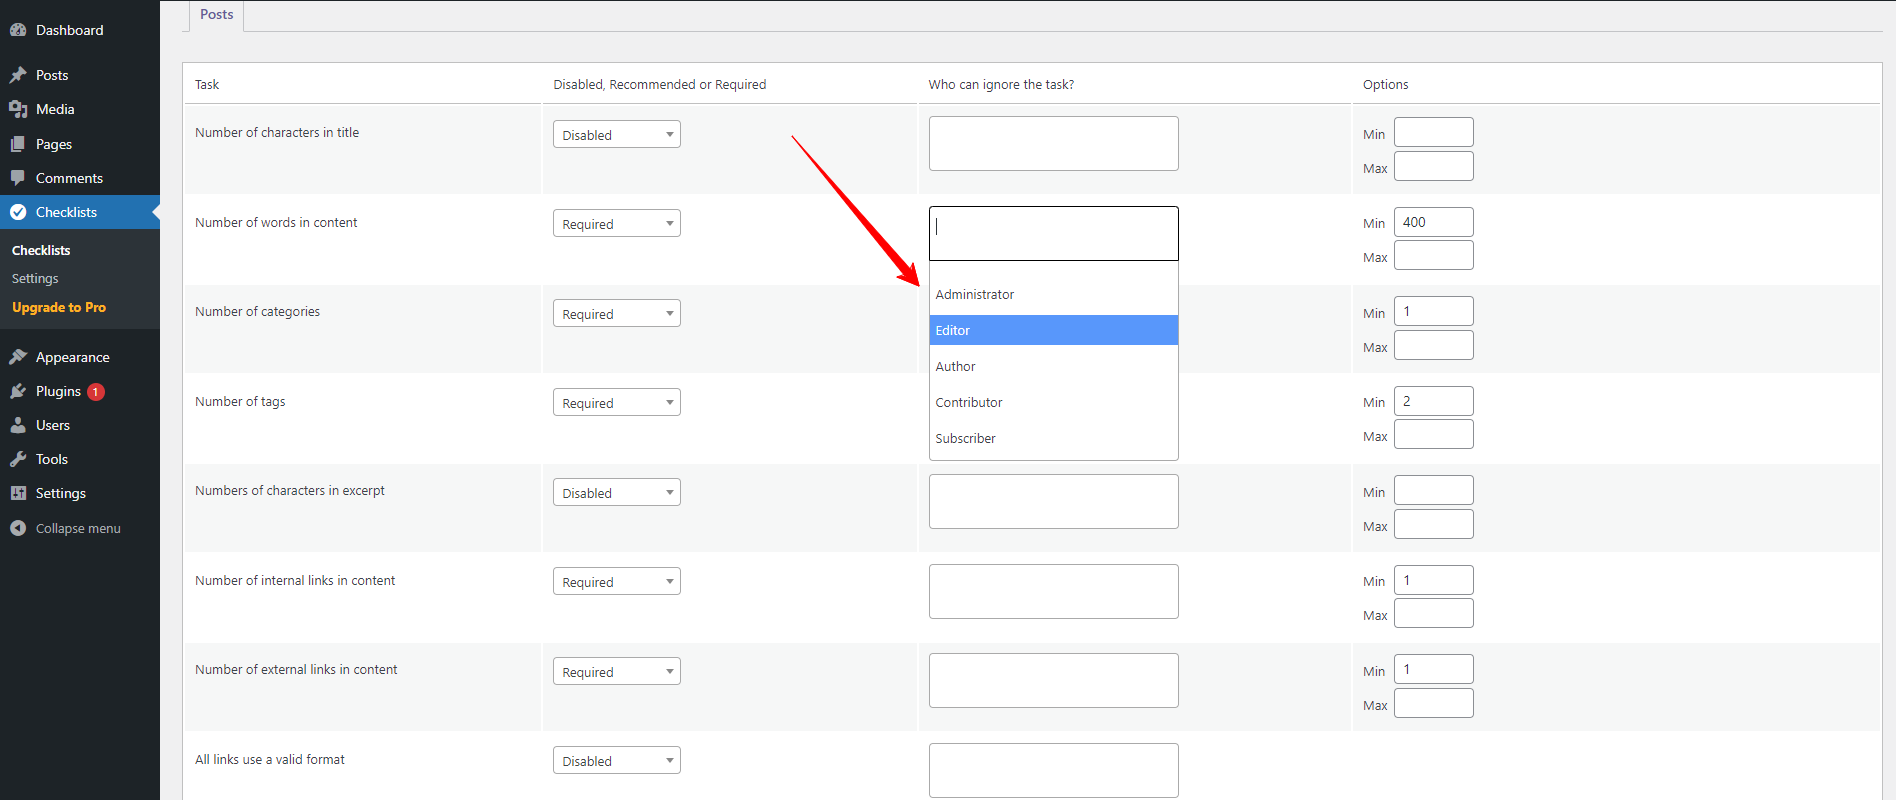
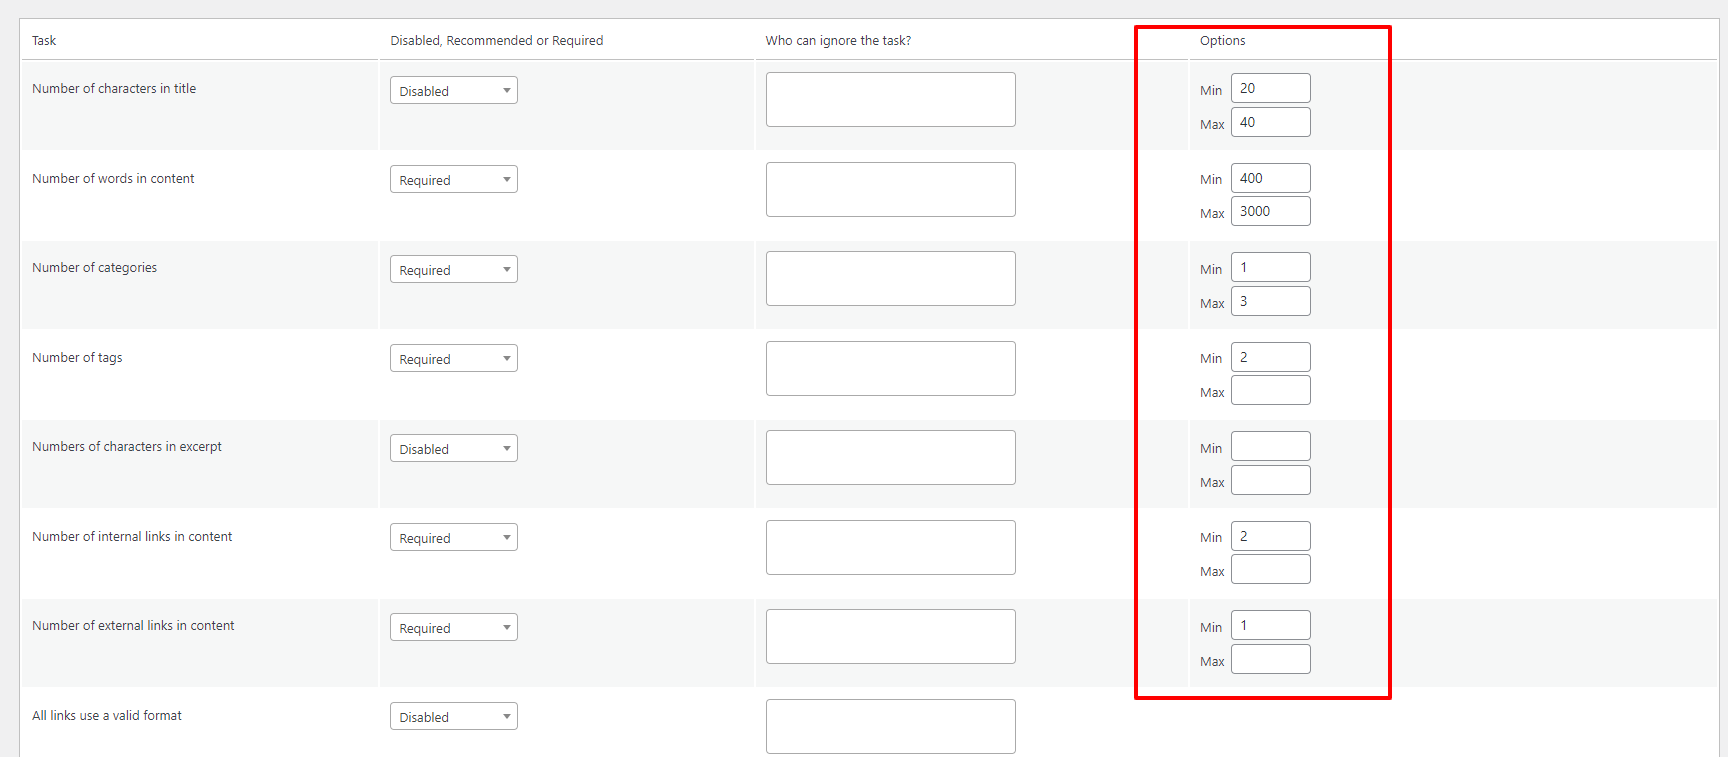
In addition, you can customize additional settings for each task. The plugin allows you to add a specific user role who can ignore your task regardless of the required task. You can choose a user role from the drop-down menu after clicking on the “Who can ignore the task” task.
Besides that, there are some tasks that need to set maximum and minimum values. For example, you can set a minimum and maximum of words that the authors must add to a post.
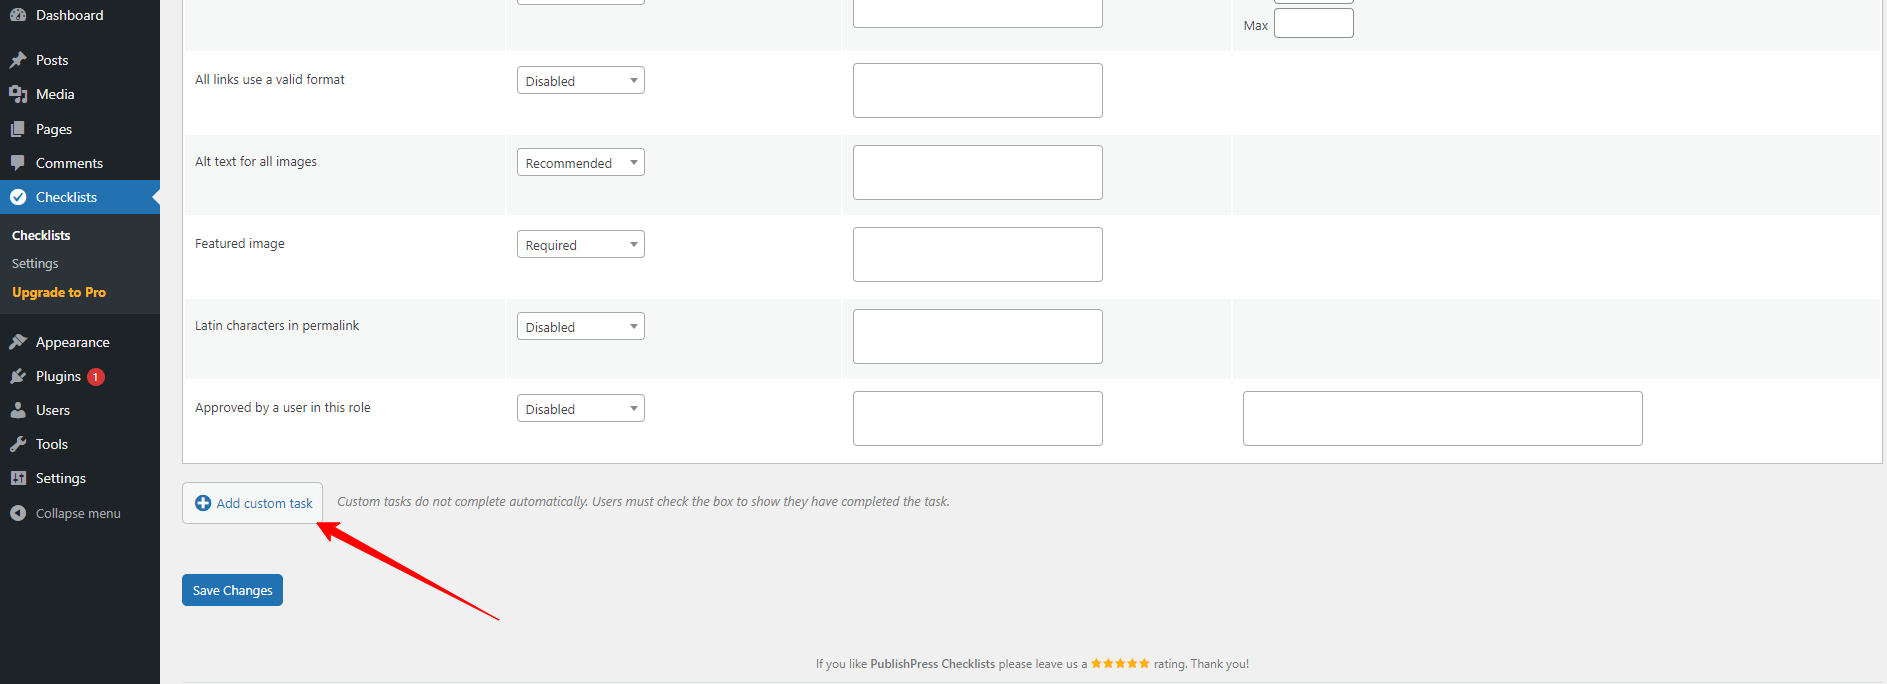
The plugin also allows you to add custom tasks to your blog post checklist by clicking on the “Add custom task” at the bottom of the page.
However, the weakness of PublishPress is that it is not able to check whether the author has completed custom tasks. Hence, you can need to check this task manually.
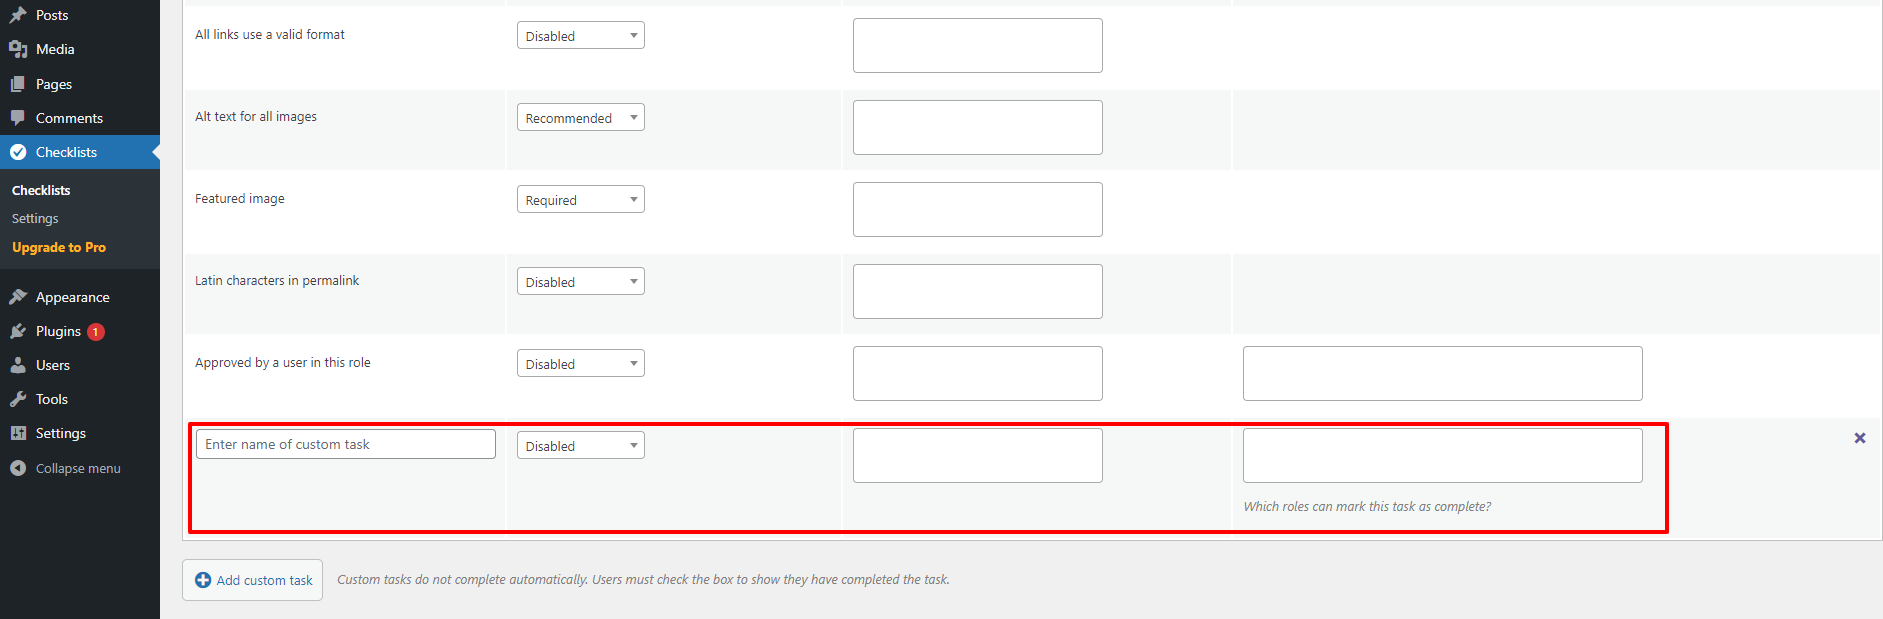
You can also customize this custom task like other default tasks. You need to type the task’s name, choose “required” or “recommended” and add specific users to ignore this task.
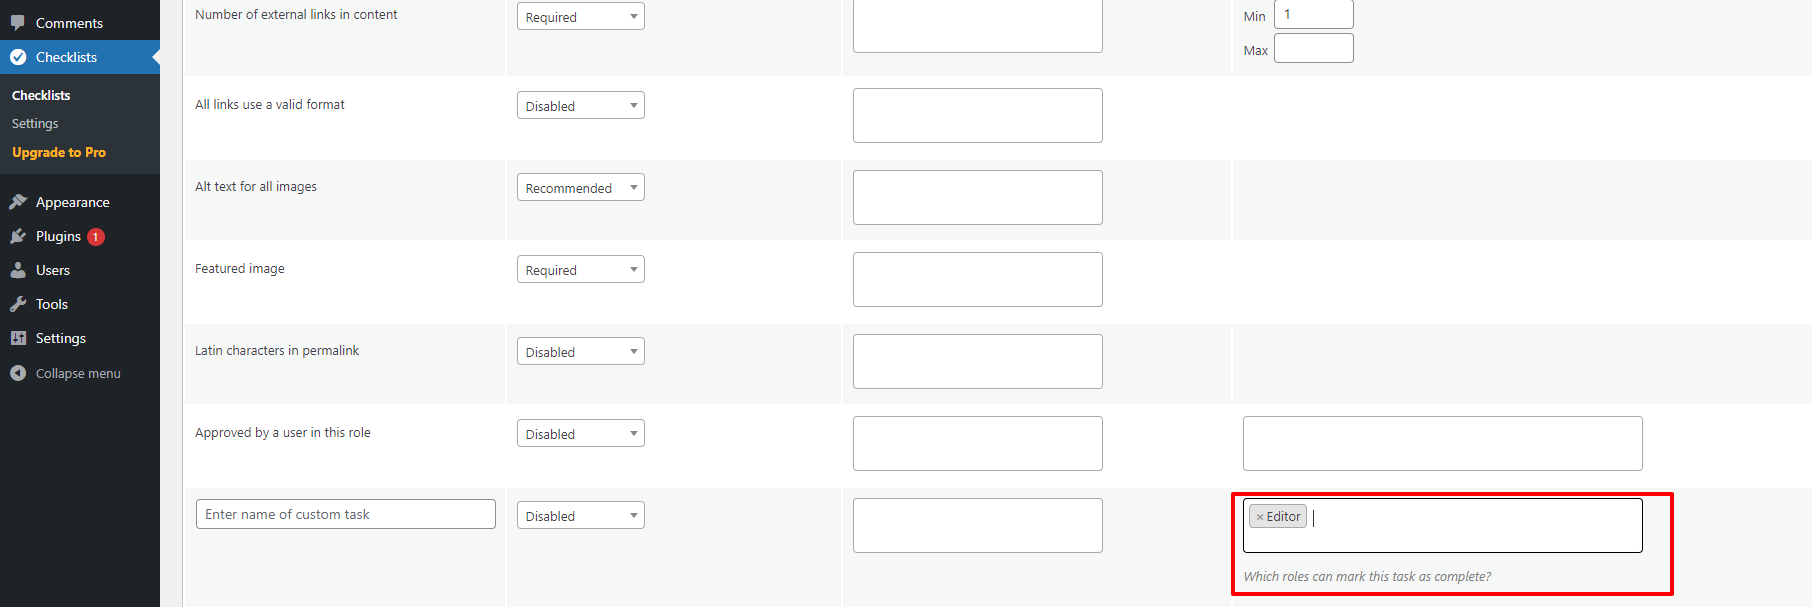
Additionally, the plugin lets you specify the users who can mark this task as a complete. For instance, if we want to create a custom task for users who have the Editor role, then we will add the “Editor” role to the box.
Once you have completed all blog post checklists, remember to click on “Save Changes” at the bottom line of the page.
Summary
To sum up, using a checklist in content creation can greatly benefit bloggers and writers alike. Not only does it help to keep your thoughts organized, but it also ensures that you don’t miss any essential elements in your blog post. Hopefully, our blog gave you a step-by-step guide to help you easily add a blog post checklist to the WordPress editor. If you have questions, don’t hesitate to leave a comment below. We will support you soon. Besides that, you can refer to some high-quality WordPress SEO plugins to improve your site’s ranking.
Further, if you want to change your site’s appearance, you can visit our website and discover tons of stunning, eye-catching, free WordPress Themes.
We're a Digital Team from EngineTemplate with 5 content experts. Our team has 5 years exp in open source Joomla and WordPress, we make daily blogs and build useful resources for everyone who is having issues with open source while using it.